Tuesday, June 30, 2015

Hearts Just for You

Stampin' Up! gave us a challenge to create projects with hearts... so I've made two. For the first card, I focused on the Hearts Border Punch. I started by punching 1/2" strips with three of the new in-colours. I used Cucumber Crush, Delightful Dijon and Mint Macaron.


 I layered everything onto Basic Black and added some of the remaining punches to fill in some of the holes. Lastly, added a sweetheart punch with some Gold Metallic Thread. 


For this second card, I punched 9 of sweet heart punches in all of the five in-colours. I embossed each colour with different embossing folders for some fun texture. 


I used the new Greetings Thinlits for the sentiment. I love how these cards turned out, I am glad for this contest - to get me to "play" and experiment with some of my punches! 


Stampin' Up! Supplies Used:

Built for Free Using: My Stampin Blog


Thanks for stopping by, happy stamping!
Beckie

Monday, June 29, 2015

No bones about it... you're grrrreat!

I'm sure I am not alone when saying "I had to have the NEW No Bones about it stamp set?!" Well, I hope I'm not alone since it's pretty awesome. I don't make a lot of cards for kiddos, but this set of stamps can work for the young and young at heart. I love the skeleton images and the solid ones to overlap. It has some leaves and foliage, plus some other fun add-ons to make your projects great! I just love it ALL!! 


When I was designing my cards for this month's class, I had a bunch of bits left over... and since I just can't seem to throw those bits out I came up with this fun card. I used the new Brick Wall Textured Impressions Embossing Folder and Tip Top Taupe card stock to start. Followed with layers of Basic Black and Cucumber Crush card stock... and I went from there. 


I love this stegosaurus image, and originally only stamped the skeleton, then added a stamped layer with Cucumber Crush to tie into the background colour. I added a party hat and fussy cut him out. I love the fun sayings in this set too... No bones about it... you're grrrreat! So fun! As a finishing detail, I made some balloons with the 1" Circle and Owl Builder Punches to make them in some bright colours and two of my fav's - Tangelo Twist and Delightful Dijon. I tied some Linen Thread around his tail and ta-da... DONE! I hope you like it, have a grrrreat day, no bones about it!!! 


Stampin' Up! Supplies Used: 

Built for Free Using: My Stampin Blog


Thanks for stopping by, happy stamping!
Beckie

Saturday, June 27, 2015

Summertime Sheltering Tree

Hello... thanks for visiting me today. I had a few minutes to play the other day and I went to one of my favourite sets... Sheltering Tree. I was out in my garden looking at my trees with all their shades of green. I decided to recreate them with this fabulous stamp set. It is super easy to create lovely cards in no time with this great set. I used Early Espresso ink to stamp the tree trunks and branches. 


For the leaves I used Cucumber Crush, Old Olive and Mossy Meadow with variations of straight stamping and stamping off to get more dimension with the varying colour tones. I added some of the blades of grass with Mossy Meadow ink. I added a bicycle and swing to finish off the scene for my card. I'm so glad this set stuck around, it's pretty awesome! I hope you like my share, have a great weekend... see you on Monday!


Stampin' Up! Supplies Used:


Built for Free Using: My Stampin Blog


Thanks for stopping by, happy stamping!
Beckie

Thursday, June 25, 2015

From Land to underwater Sea

Okay, so I am predicting that the stamp set From Land to Sea will be a favourite of mine for a long time. I love adding sponging to my cards, and what better than to sponge an underwater scene. I was just dying to use the jellyfish stamp. I stamped the image several times with varying shades of blue so it appears to be swimming closer to the surface.


I decided to add a swimming turtle and colouring it a different colour so it would "pop" a bit more. I layered my sponged panels onto some Basic Black.


I was going to leave this front without a sentiment, but then I just happened to have the Guy Greetings stamp set on my desk. I thought this would make a perfect birthday card for my dad. I stamped a sponged panel, and stapled it onto a Basic Black 1" strip that I flagged with the Banner Triple Punch. Before attaching it to the card, I added some frayed Burlap Ribbon. I hope you like it!


Stampin' Up! Supplies Used:


Built for Free Using: My Stampin Blog


Thanks for stopping by, happy stamping!
Beckie

Wednesday, June 24, 2015

Best Thoughts & Happy Patterns: Pointillism Technique

Hello! I have yet another card featuring my favourite of the host/hostess stamp sets Best Thoughts. I'm a sucker for floral stamps and this one definitely packs some punch. I love when a stamp is just an outline, then your imagination can go wild with the possibilities for how you would add colour to it. For today's card, I decided to try a little pointillism again. I love this technique... so fun and all it is, is dots, no blending, only dots! 


I used orange colour tones (big shocker, as I love orange?!). I started with the darkest colours, Cajun Craze, then Tangelo Twist, Pumpkin Pie and a bit of Hello Honey and Crushed Curry for a tiny bit of yellow colour. Another fun and NEW item used is the new Happy Patterns Decorative Masks. I've used all 4 of the new stencils in this set. You can sponge your colour, spritz your colour, doodle on colour... they are definitely a great addition to any stampers tool kit! As a final touch, I added some loops of Gold Metallic Thread to the top and bottom of my stamped layer. The sentiment is from the Happy Happenings stamp set. I hope you like it, have a wonderful Wednesday!


Stampin' Up! Supplies Used:

Built for Free Using: My Stampin Blog


Thanks for stopping by, happy stamping!
Beckie

Tuesday, June 23, 2015

Fluttering Hello

I am sure I'm not alone when I say I love the Butterflies Thinlits and Bold Butterfly Framelits Dies. They are a super easy way to add a "WOW" to your cards and other projects. I paired both sets together to create my focal piece for my card share for today. I just had to give the Fluttering textured impressions embossing folder a try. I added some Watermelon Wonder ink to the embossing folder before running it through the Big Shot to add a bit more depth to the background. 


I used all but one of the butterfly thinlits to create this pretty butterfly. I used Basic Black, Watermelon Wonder and Calypso Coral. For some finishing touches, I added some Silver Metallic Thread and the hello is from the Greetings Thinlits Dies. I'm pleased with how this card turned out, I hope you like it!


Stampin' Up! Supplies Used: 

Built for Free Using: My Stampin Blog


Thanks for stopping by, happy stamping!
Beckie

Sunday, June 21, 2015

Guy Greetings for Dad's day

Well, today couldn't have been a more perfect day weather wise. It was just perfect for a barbecue or outdoor gathering, which we had with my in-laws and my Dad. I have a quick post for you with the card I made for my Dad and my Father-in-law. I always suggest my hubby make a card for his Dad, but he never does. Luckily with the help of the Guy Greetings stamp set it makes designing a masculine themed card super easy. 


For my first card, I used a Delightful Dijon card base and a piece of Bohemian Designer Series Paper matted to a Basic Black layer. I stamped the old car image 3 times, since my Dad loves antique cars and even has one it was very fitting. I attached it with the help of the Handheld Stapler. I thought it needed a bit more, so I punched the left side with the Spiral Border Punch and added some Linen Thread.


For my second card, I decided to use a Mint Macaron card base this time. I used the wrenches stamp and also stamped multiple times. I used a piece of Cherry on Top Designer Series Paper and I swiped Mint Macaron and Cucumber Crush Classic inks to mottle the background a bit before matting it onto some Basic Black. I added the sentiment "Righty-tighty, lefty-loosey" onto a strip of vellum and attached with some linen thread which I tied a knot and adhered with a glue dot. Finally, I added the HAPPY FATHER'S DAY sentiment by cutting around the words and matting onto Basic Black. 

Stampin' Up! Supplies Used: 
Built for Free Using: My Stampin Blog

Thanks for stopping by, happy stamping!
Beckie

Golden, Glimmery, Glittery Best Thoughts

I presented at the spring/summer session of Stamparama yesterday. It's an event that my upline and other demonstrator's in the same group as me organize semi-annually. As always it was a fun event with some great techniques to share and learn. I presented the "Pop-up Book Card" - I have shown several cards that I made for my samples, I will have a few more coming up this coming week.

For today, I have a card I submitted for their card contest. Unfortunately, I did not win - but I am very pleased with how my card turned out. Check it out... 


I wanted to pull out one of the host/hostess stamp sets that was MUST HAVE! It's called Best Thoughts. I just love the bold floral image, not quite sure what kind of flower it is - but I love it! While deciding which card to submit, I did make several different cards with this set - I will share them with you at a later time. I used Heat and Stick Powder to add my gold glitter. I fussy cut the entire stamped image out, matted it onto some Basic Black - then added a half layer of gold glimmer paper. Lots of fussy cutting, but it was the look I envisioned. Here's a close up view of the flower.... oh, so pretty!


I used some of the super lovely, Pretty Petals Designer Series Paper Stack. Can you say LOVE?! I just love, love it to bits. I chose the striped Mint Macaron piece, which coincidentally has black hexagons on the opposite side. I was going to use a black background, but it was too intense and I wanted it a little bit lighter. I cut and flipped so I could make a zig zag look pattern with the DSP. I decided to fussy cut out the sentiment too... why not?!! As a last touch, some more DSP - a polka dot half inch strip and some Gold Metallic Thread. I am so proud of this card, whether I won or not that's all that matters. I hope you like it, have a wonderful day!


Stampin' Up! Supplies Used:

Built for Free Using: My Stampin Blog


Thanks for stopping by, happy stamping!
Beckie

Friday, June 19, 2015

A little Bohemian Boho Chic

I was immediately drawn to the Bohemian suite of products. The designer series paper, the colours, the stamp set - Bohemian Borders, and the Boho Chic textured impressions embossing folder. The look and colours are so popular right now, and are definitely my colours. I went with the bold zigzag pattern with Bermuda Bay, Island Indigo, Rich Razzleberry, Blackberry Bliss and Delightful Dijon colours. Such very rich beautiful colour tones. The other half, I went to the Boho Chic embossing folder and Island Indigo card stock. I didn't want to cover up the lovely pattern so I added a smaller sentiment from Happy Happenings. I pulled out the newest butterfly additions and die cut some of the new small butterfly in both Bermuda Bay and Rich Razzleberry. 


I just had to use the Metallic thread again - it was something on my list I knew I would get a lot of use out of. I made a fun "X" pattern with the thread. The designer series paper pattern  I chose is so bold - I tried to add a bit more to the other side of the card front and it adds a bit of shine. 


I just can't stop using the Bohemian products, I love the colours, the patterns, the stamps... everything! I hope you like my share, have a super day :)


Stampin' Up! Supplies Used:
Built for Free Using: My Stampin Blog


Thanks for stopping by, happy stamping!
Beckie

Wednesday, June 17, 2015

A Gift from the garden is a work of Heart

The stamp set Gift from the Garden was one set I was drawn to since I am a gardener. I was given some beautiful Hostas from some friends of my In-laws and I made this card to show my appreciation for their lovely plants that fit so nicely into my Hosta garden. I couldn't believe the size of them, way bigger than any you'd get from a nursery or garden center. 


This stamp set was perfect and I love the sentiment, A gift from the garden is a work of heart. It's so true, people put so much work and heart into their gardens... I know I do. It's a lot of work, on a daily basis - but it's worth it when you sit back and can enjoy all your hard work and see your plants/flowers come to life and flourish. 


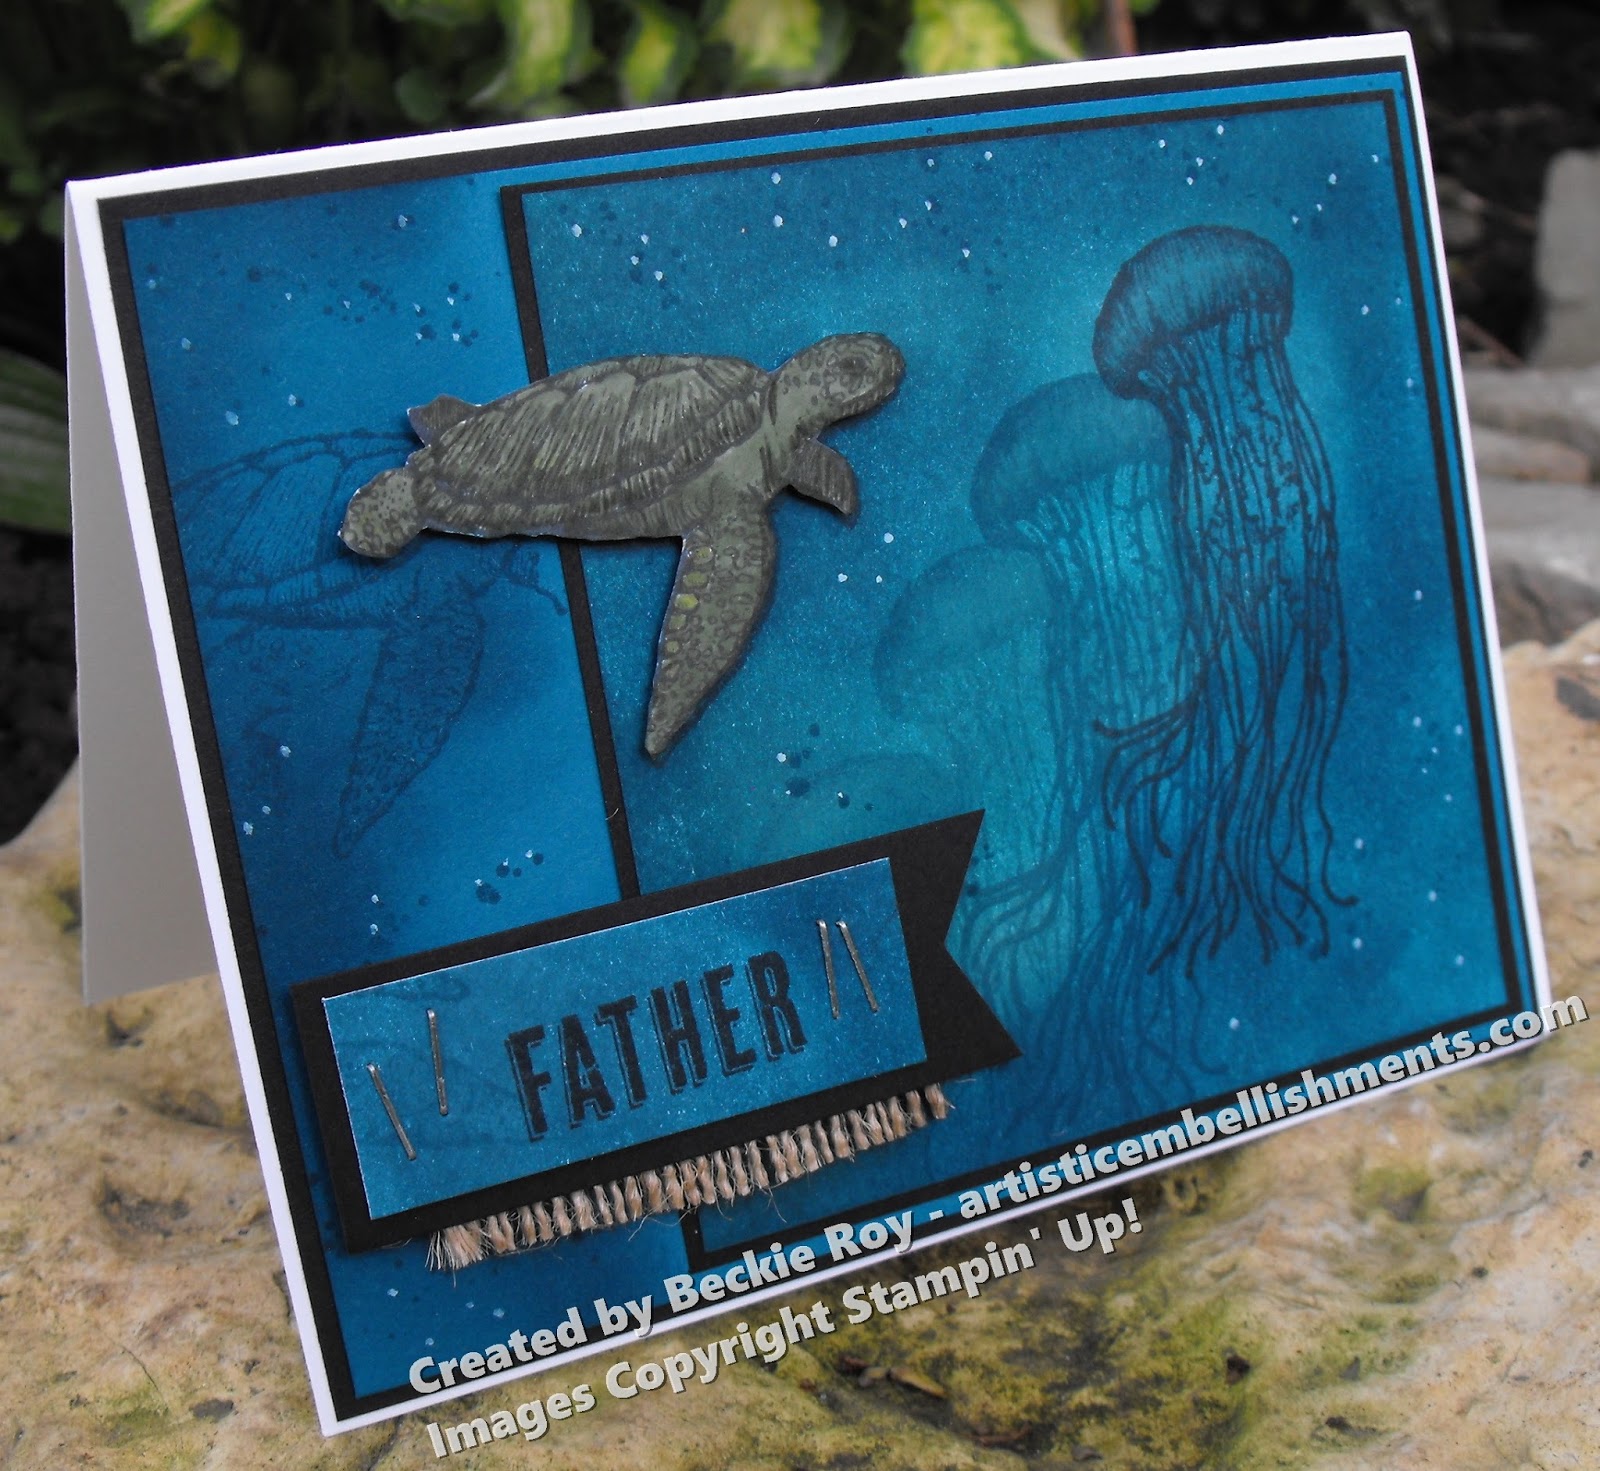
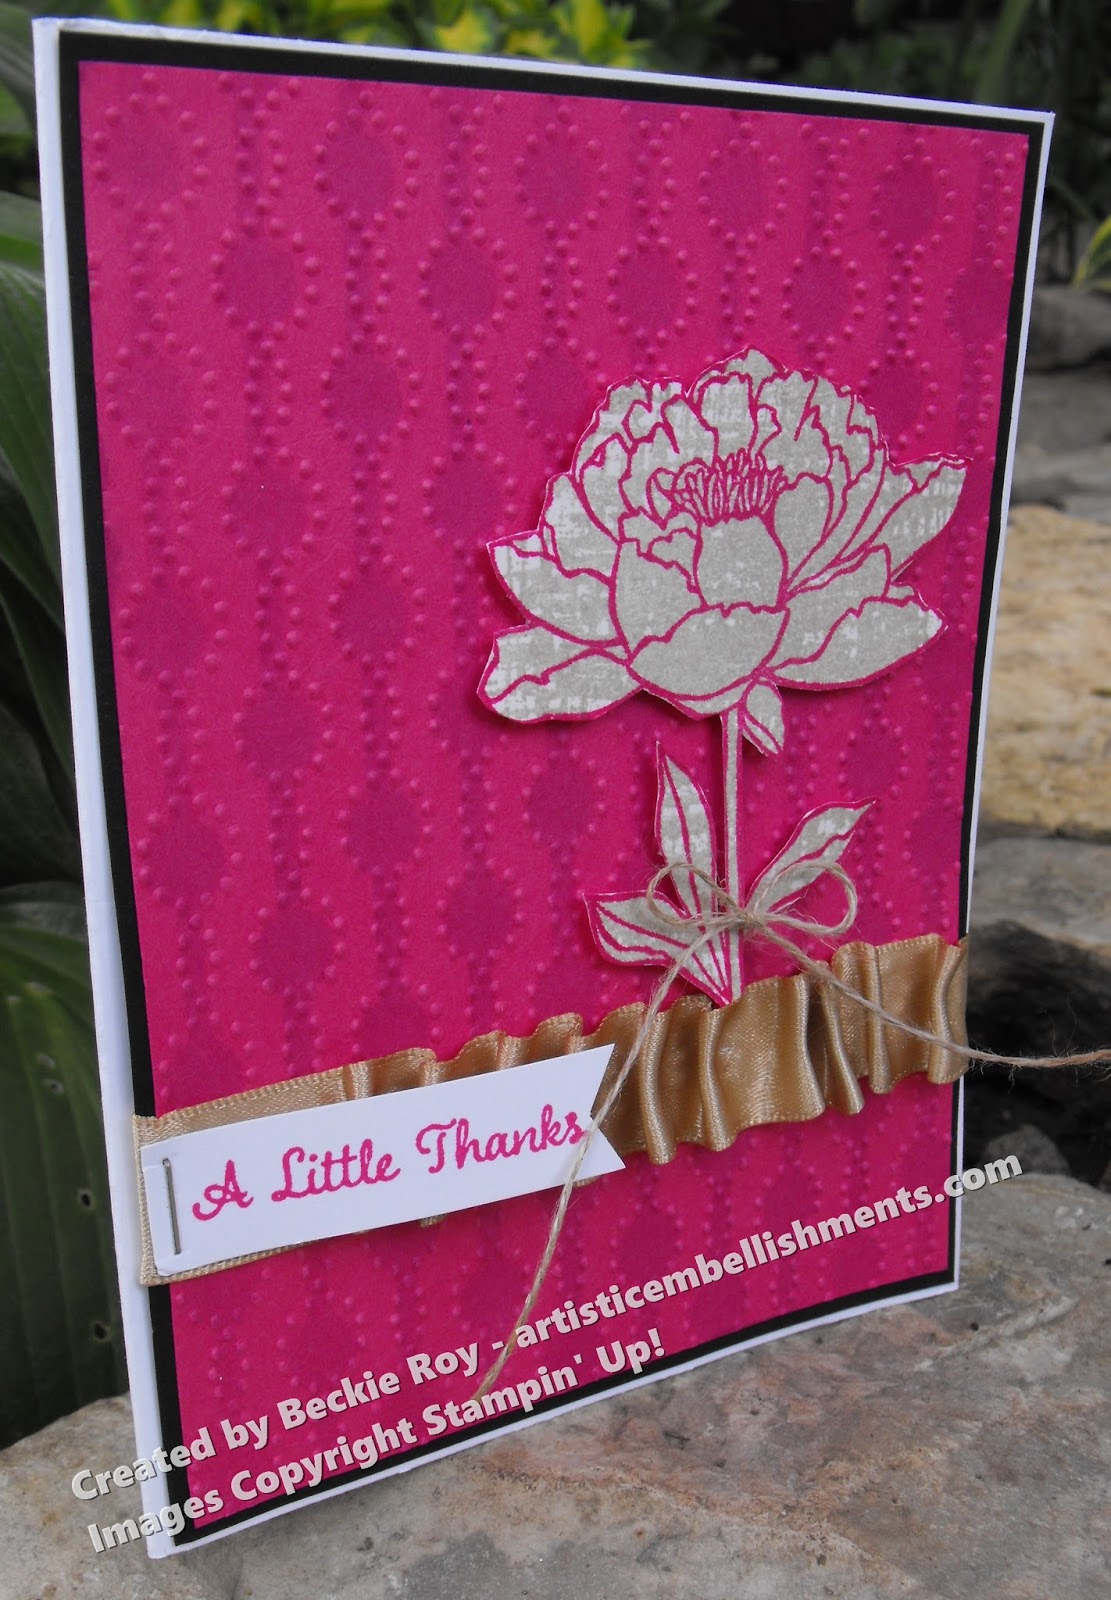
I decided that I wanted to use Calypso Coral - for my card base, and I had the Pretty Petals Designer Series Paper Stack already on my desk so I use it. I love adding black accents to my projects, and the paper with the poppies just called out to me - maybe it was because I was just photographing my own poppies?! It's stunning paper nonetheless. I stamped the garden gloves and fussy cut them out and situated them like they are holding the sentiment on the front of the card. 


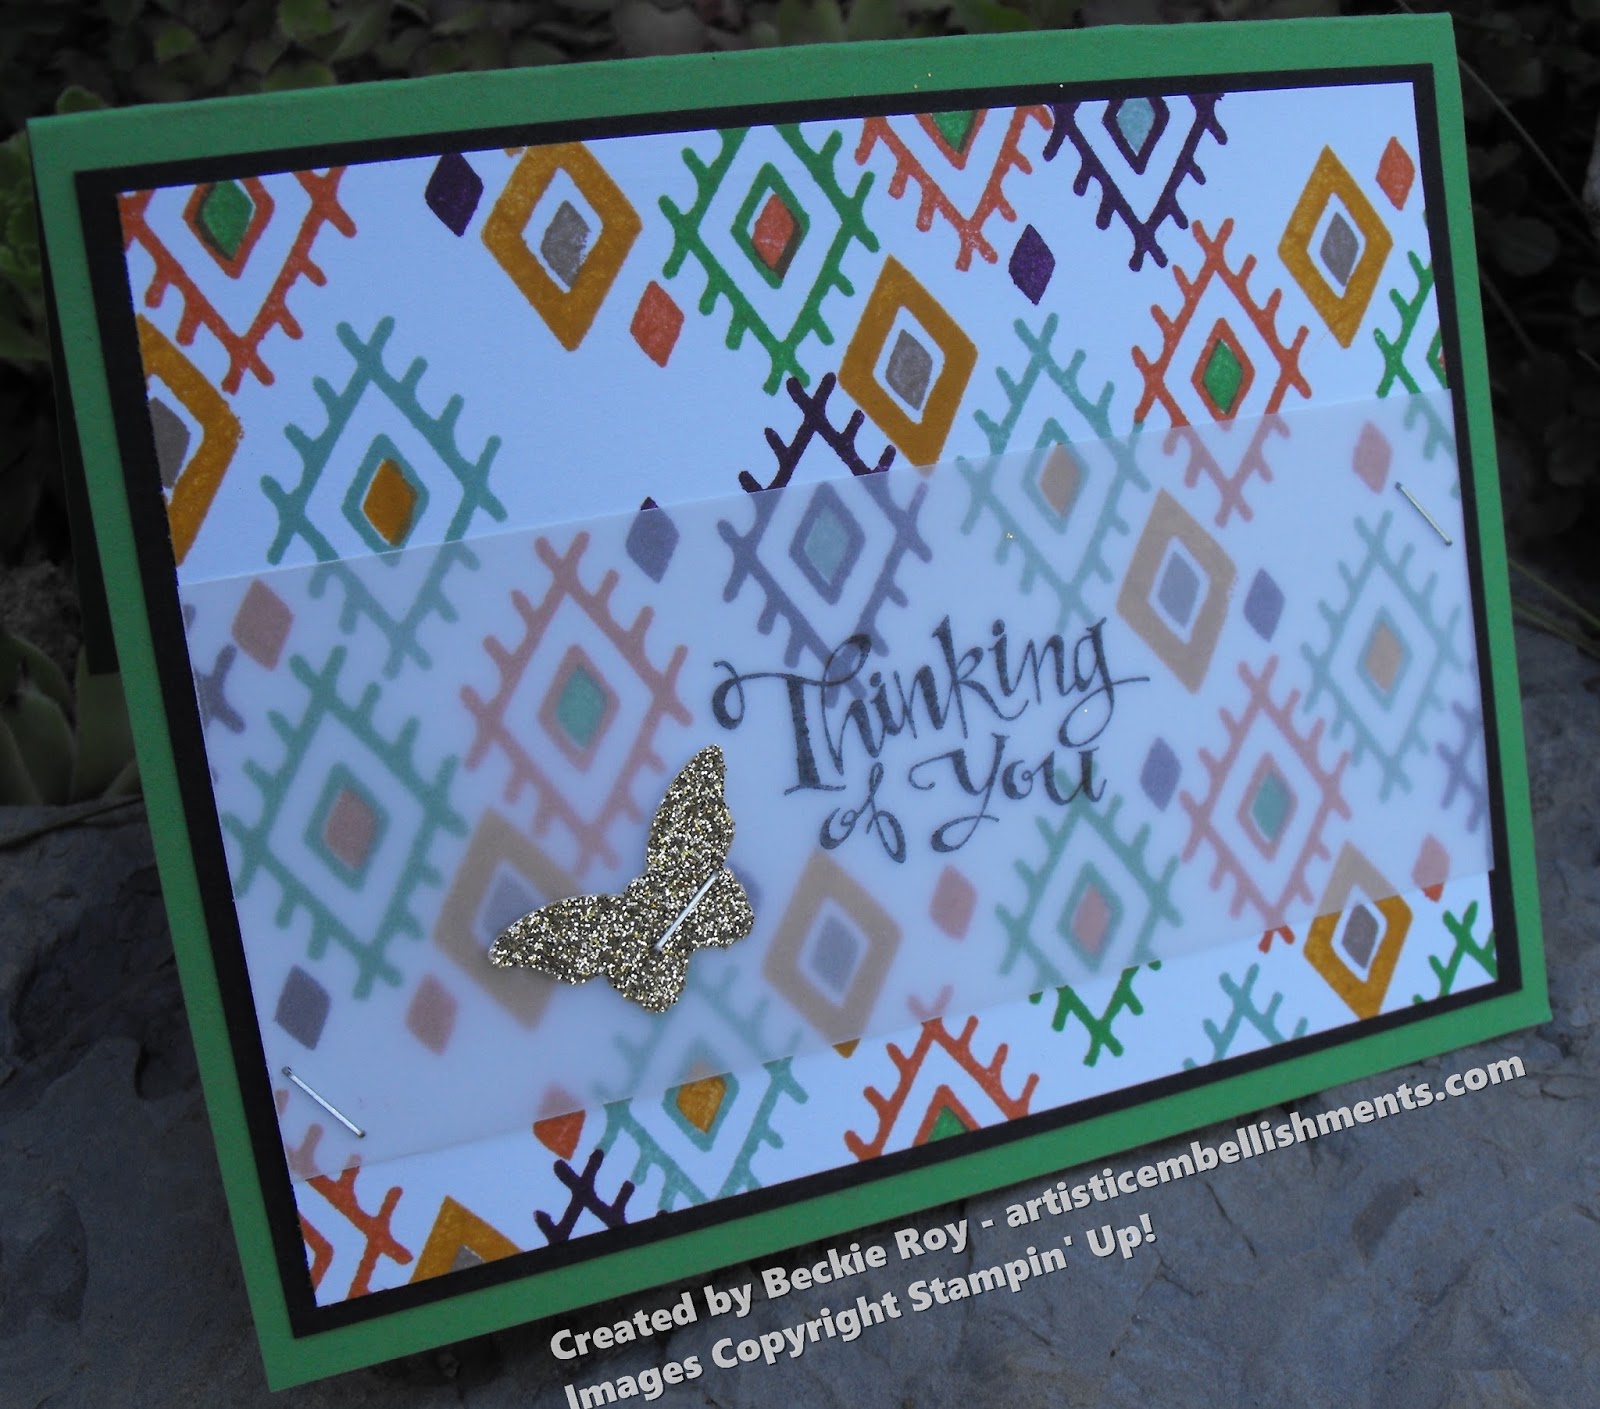
And this is the inside. I've been prepping for my presentation at my upline's event this coming weekend and it's on this type of card, a "Pop up book card". They are super easy to make, I've made them in several different sizes and they all look  neat. Pop up's are nice since they aren't expected! I stamped the garden themed images in Calypso Coral ink for a tone-on-tone look. For the book pop up, I used a more subtle sheet from the Pretty Petals paper stack. I added some stamped and die cut images to dress it up a bit further. I haven't sent this card just yet, but the white space is there so I can write a message to them.

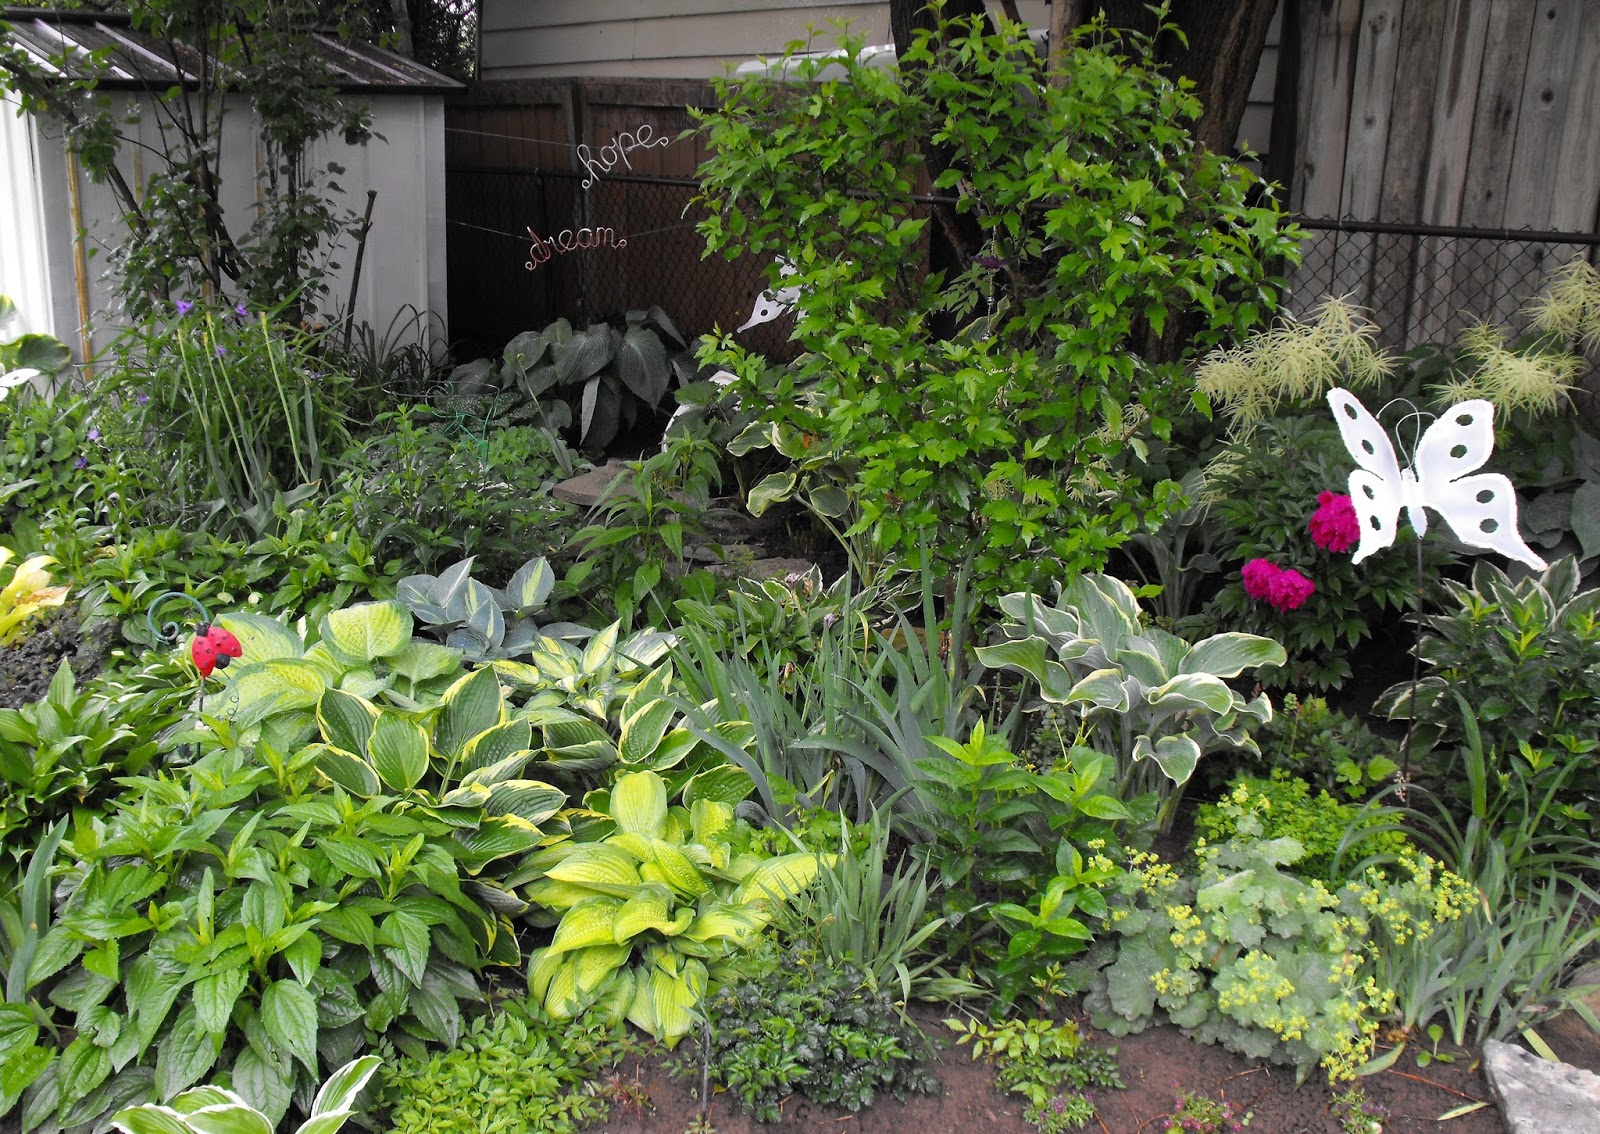
I included some photos of my garden with several of the new to me Hostas. I did have quite a number of Hostas of different varieties, but it was nice to be able to move some Perennials around to fill up some other gardens. 


This garden is primarily Hostas, but there is some Perennials in it also like Peonies, Goat's Beard, Astillbe, Iris, Cone flower, Turtle Head, Belleflower, Rogerstia .... just to name a few. I love the look of fullness the Hostas add to my garden. 


Stampin Up! Supplies Used: 

Built for Free Using: My Stampin Blog


Thanks for stopping  by, happy stamping!
Beckie

Tuesday, June 16, 2015

Bohemian One BIG Meaning

I was asked to be a presenter at my upline's Stampin' Up! Event that is this weekend. I designed several card samples for the event this is one of them. I wanted to use the traditional card size, so I adapted it from a much larger sample I saw. I have fallen in love with the Bohemian designer series paper. I love the bold prints and the gorgeous colours within the paper. I started with a base of Bermuda Bay - ah, my #1 favourite colour! 


For the front, I used a piece of the Bohemian DSP that has a bunch of colours so I could make this card super bright and colourful. It has Bermuda Bay, Delightful Dijon and Rich Razzleberry - such lovely colours! I also added some of the new and super yummy Dotted Lace Trim. If you haven't checked this ribbon out yet, oh my... it's so silky and soft. Love it!!! The greeting I chose was from another new set called One Big Meaning. You can never have enough "thank you" greetings and this one has so many lovely ones with large printing, scripted fonts and some with a combination of both! 

So this card looked just like an ordinary card right? But, on the inside is a fun pop up card that resembles a book! So cool right?! 


I added a different pattern from the Bohemian papers for the inside - with Delightful Dijon. 


To finish it off, I added some butterflies - Who doesn't love butterflies?!! 
I hope you like my card, have a wonderful day!


Directions
  1. Cut your card base 11" X 4-1/4" - score at 5-1/2" (set aside for later).
  2. Inside layer 10-1/2" X 4".
  3. Lining up at 5/8" on the 10-1/2" side and cut from 1-1/2" to 9", flip and repeat on opposite end. 
  4. Score the entire length at 5-1/4".
  5. Score inside the cut lines (pop up book part) at 1-1/2", 2-1/2", 8" and 9".
  6. Score the outer edges at 3-7/8" and 6-5/8".
  7. Fold the middle section (between the cuts) - valley, mountain, valley in the center, mountain, valley. 
  8. Fold the outer folds valley, mountain, valley on both ends. 
  9. Add adhesive to the back of the insert on both short ends up to the 3-7/8" and 6-5/8" score lines - do not add adhesive to these parts or pop up will not work properly. 
  10. Attach inside your card base, lining up the center scores - should be flat when open completely. 
  11. Decorate as desired. 


Stampin' Up! Supplies Used:


Built for Free Using: My Stampin Blog


Thanks for stopping by, happy stamping!
Beckie

Monday, June 15, 2015

Happy Happenings: Bonjour Beautiful

I have a simple card to share today. I used one stamp set to make the entire card, Happy Happenings. It was actually the first stamp on my must have list - I just love the cute sayings. I stamped the sentiment, Bonjour Beautiful numerous times to create my own custom background using Calypso Coral ink. 


I added a strip of designer series paper from the new Pretty Petals paper stack. It's such a beautiful stack of paper. I finished it off with a bow made with the Bow Builder Punch. I hope you like my card! 


Stampin' Up! Supplies Used:

Built for Free Using: My Stampin Blog


Thanks for stopping by, happy stamping!
Beckie


Friday, June 12, 2015

A Gift from the Garden: Friendship is the SPICE of Life

The new Gift from the Garden stamp set immediately went onto my wish list. I am an avid gardener so it wasn't a hard decision for me to get this set. This was the first card I came up with when I sat down to play! I started by stamping the flower pots with Rich Razzleberry Classic Ink, then fussy cutting each pot out. 


I stamped them again with Old Olive and added some Bermuda Bay to the flowers. Then added the pots I previously cut out with Stampin' Dimensionals. I matted the flower pots onto a layer of Rich Razzleberry. Before attaching it to the card, I added some of the new Gold Metallic Thread. Love this stuff, I am a sucker for Baker's Twine and this thread is bound to be another obsession of mine! It's a very subtle way to some sparkle and shine without over doing it.

I

The background layering designer series paper is from the new Pretty Petals Designer Series Paper Stack - I just love the pretty patterns and fun colours, it's another favourite of mine.


Lastly, I stamped the sentiment "friendship is the SPICE of life." and flagged the end and layered it onto a strip of Gold Glimmer paper. I'm pleased with how this card turned out, I hope you like it too.


Stampin' Up! Supplies Used: 
Built for Free Using: My Stampin Blog


Thanks for stopping by, happy stamping!
Beckie

Thursday, June 11, 2015

You've Got This with One BIG Meaning!

Hello.... I finally got my box of new goodies!! I haven't had much time to sit and play, but I had time to whip up a couple cards. One of the cards is the one I'm sharing today. It is featuring a bunch of new stuff!!!!!!!!!!! 


I started with a Whisper White card base, of course I had to add a layer of Basic Black. I used Melon Mambo... yes, pink.. I know! I embossed it with the new Elegant Dots Textured Impressions Embossing Folder. The neat thing about this embossing folder is that it coordinates with the Happy Patterns Decorative Mask. 


I used a Real Red ink refill and spritzed the pre-embossed layer. It adds a little bit more to the embossed panel, and it only takes a couple of spritzes.


I added a strip of Tear & Tape adhesive to the card front and ruched a piece of 5/8" Gold Satin ribbon, it adds a pretty effect to the card. Before attaching my embossed layer to the black layer, I stapled the sentiment from One Big Meaning. I love the peony flower from the You've Got This stamp set - so pretty. I decided to fussy cut it out and pop it up on dimensionals. As a final touch, I added a bow with a piece of linen thread. I hope you like it!


Stampin' Up! Supplies Used:
Built for Free Using: My Stampin Blog


Thanks for stopping by, happy stamping!
Beckie

Tuesday, June 9, 2015

Layered Letters Alphabet "HI!"

When I got my pre-order goodies I came up with this card, I thought I'd share it with you today. It features a bunch of new stuff! First two new in-colours, Cucumber Crush and Delightful Dijon. I just had to add my favourite colour, Bermuda Bay into the mix. It coordinates nicely since it's a bright, bold colour too. I used the new Bohemian Designer Series Paper in the background, and the Bermuda Bay piece is embossed with the new Boho Chic Textured Impressions Embossing Folder. I also used the new Banner Triple Punch to flag my tag ends. There is also a piece of the new 1" Dotted Lace Trim it's in Delightful Dijon.. love this silky smooth ribbon. Last but certainly not least, the "HI!" is created with the new Layered Letters Alphabet photopolymer stamp set. 


I just absolutely love it all, such great new products and colours. I hope you like it and have a great day :)

Stampin' Up! Supplies Used:
Stamps: Layered Letters Alphabet
Papers: Cucumber Crush, Bermuda Bay, Basic Black, Whisper White and Delightful Dijon Card stock; Bohemian Designer Series Paper
Inks: Bermuda Bay Classic Ink
Accessories: 1" Dotted Lace Trim, Petite Petals Punch, Scallop Tag Topper Punch, Banner Triple Punch, Boho Chic TIEF, Stampin' Trimmer, Big Shot, Stampin' Dimensionals, 1-3/4" Circle Punch, 2" Circle Punch 

Thanks for stopping by, happy stamping! 
Beckie


Monday, June 8, 2015

Bohemian Thinking of You

I am still waiting on my new goodies... but I'm still not sick of playing with the Bohemian Borders stamp set. The possibilities seem to be endless with this set. The "bohemian" style is all the rage right now - LOVE! I decided to use the only stamp I haven't used yet, the largest diamond shape - combined with the two smaller ones. The all fit together too, which is great! 


I chose some bright colours that I thought coordinated nicely together. I used Cucumber Crush as my card base, with Cucumber Crush, Tangelo Twist, Blackberry Bliss, Watermelon Wonder and Tip Top Taupe Classic inks to make this bold background. Since the background was so fun, I didn't want to stamp over any part of it so I stamped onto a piece of Vellum card stock, the sentiment is from Sassy Salutations. It needed just a little bit more, so I added a glimmer paper Bitty Butterfly punched image and stapled it to the vellum. The vellum was also stapled to the Basic Black layer to keep it in place. I just LOVEEEEEE that Handheld stapler. I hope you like my card, have an awesome day :)


Stampin' Up! Supplies Used:
Stamps: Bohemian Borders, Sassy Salutations
Papers: Cucumber Crush, Basic Black and Whisper  White Card stock; Vellum Card stock; Gold Glimmer Paper
Inks: Cucumber Crush, Tangelo Twist, Tip Top Taupe, Watermelon Wonder and Blackberry Bliss Classic Inks; StazOn Jet Black Ink
Accessories: Handheld Stapler, Mini Silver Staples, Bitty Butterfly Punch, Stampin' Trimmer

Thanks for stopping by, happy stamping!
Beckie

LinkWithin

Related Posts Plugin for WordPress, Blogger...