Friday, August 28, 2015

That Thing you Did! You're so Vintage

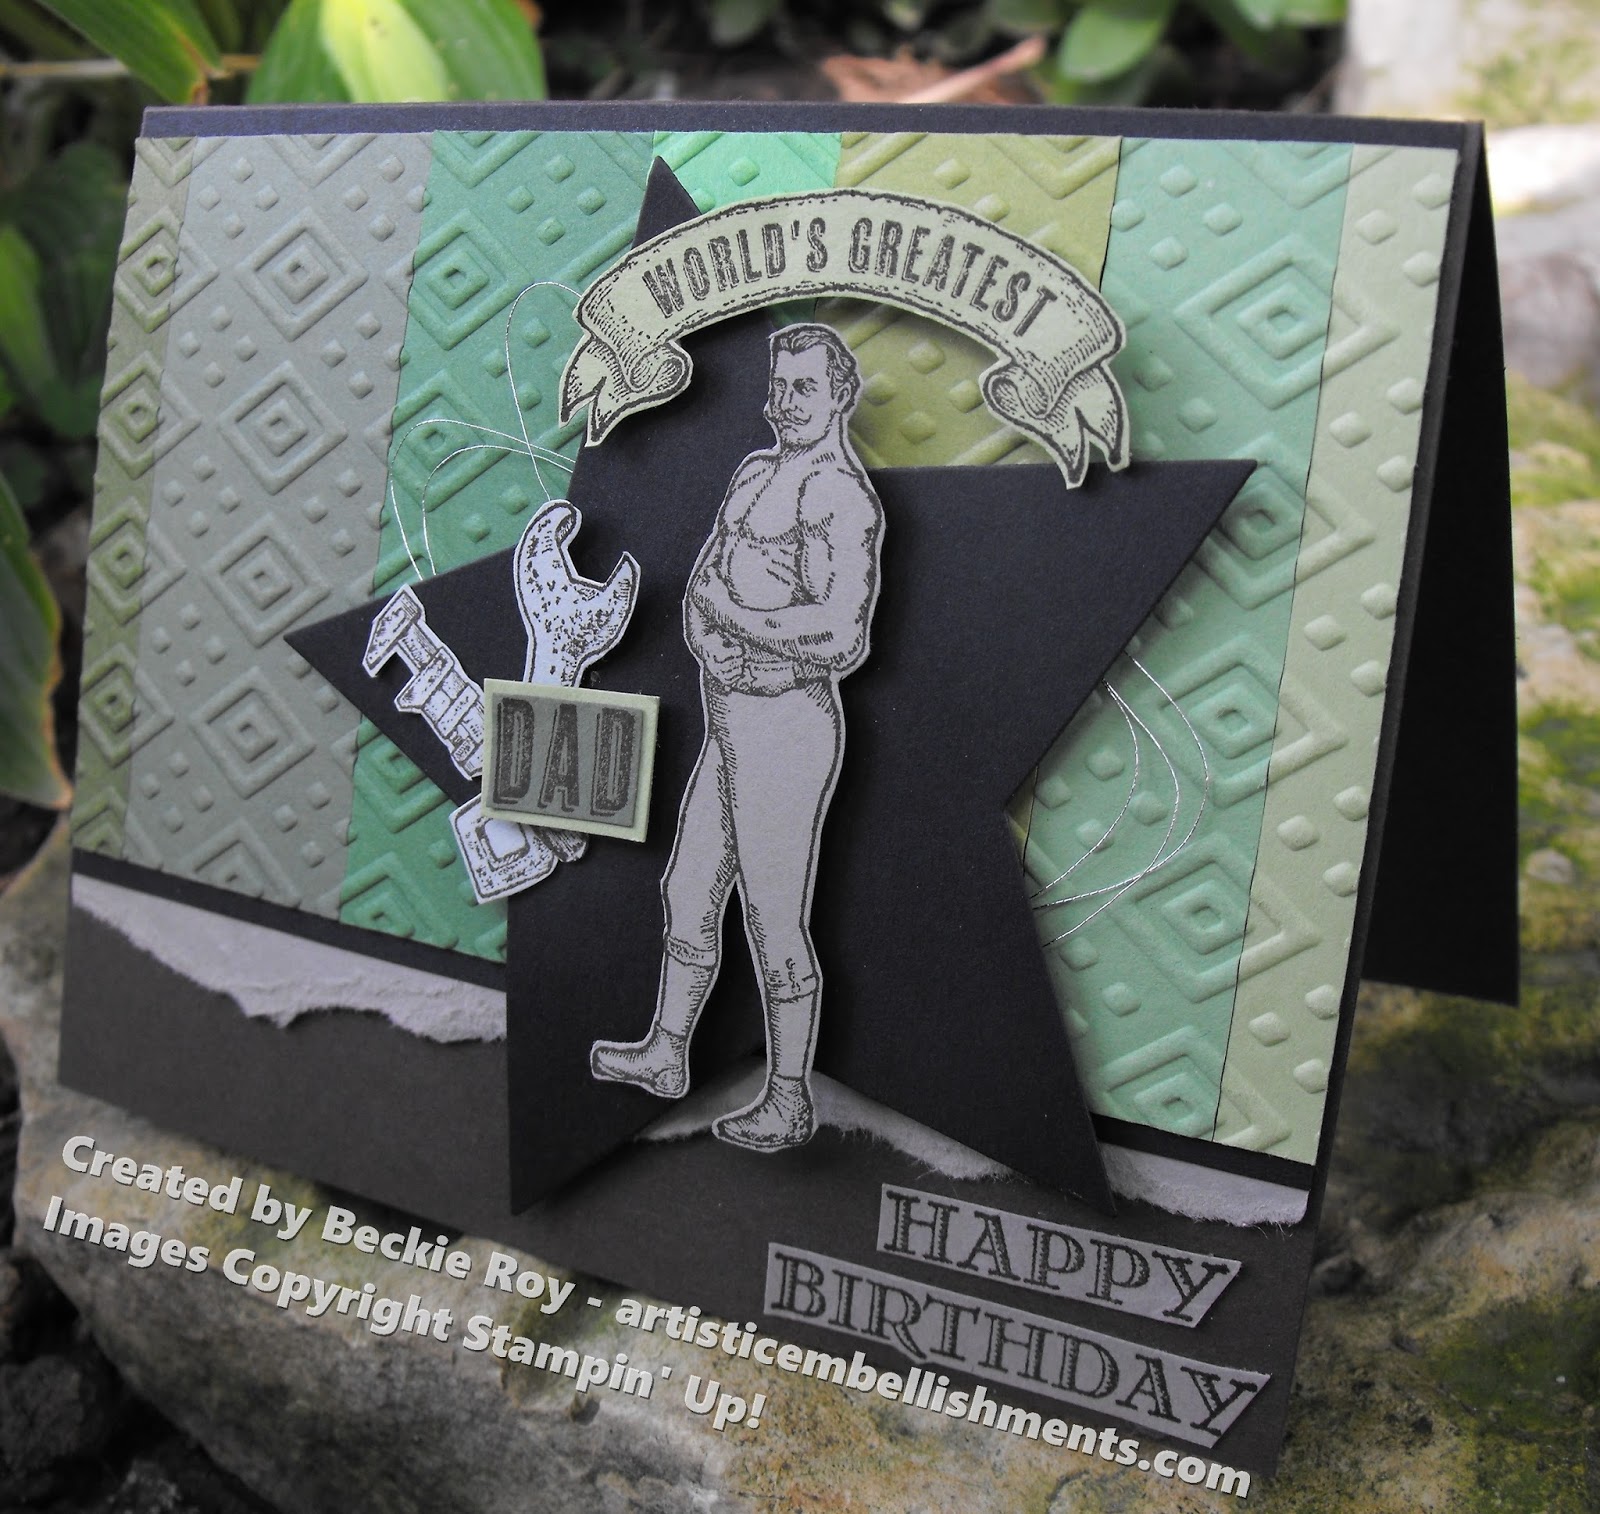
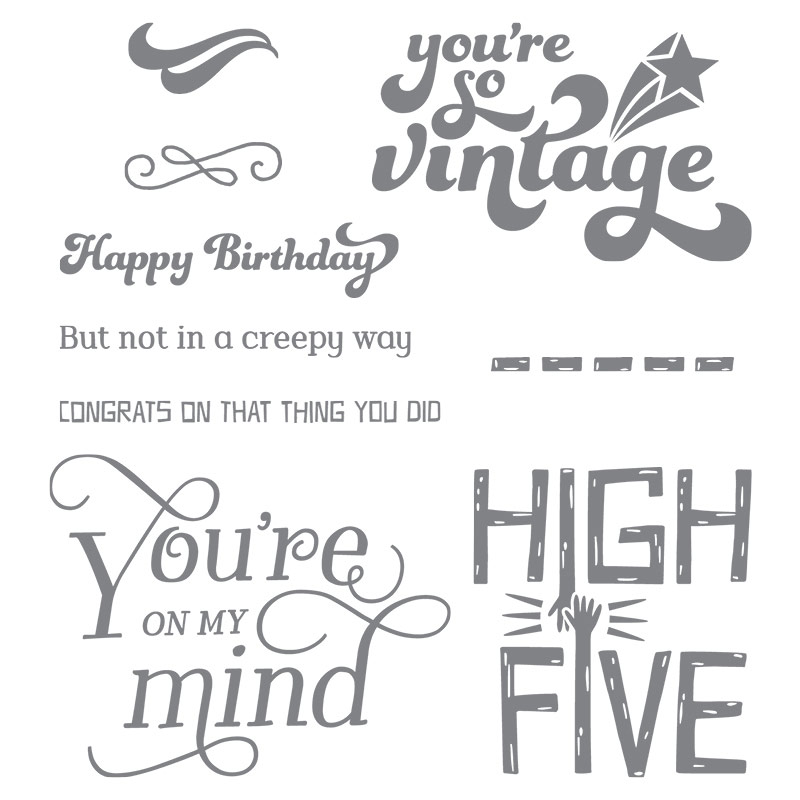
Hello........ I don't know about you?! But, I'm a sucker for making funny cards... enter That Thing You Did! stamp set. I just fell in love with the you're so vintage sentiment and the funky 70's font. But, the added fun is the sentiments you can add to it, I chose but not in a creepy way. Cracks me up! This was one of the cards we made earlier in the month at one of my classes. Very effective for both men and women too. 


This card has a fun swinging effect to the front panel.


Here are the measurements
1) Cut a base measuring 9-3/4" X 4".
2) Measure in 1-1/2" from the edge and cut from 3" to 7-1/2".
3) Score from the top down to the cut at 3". 
4) Score the entire piece at 5-1/4".
5) Score from the bottom up to the cut at 7-1/2".
6) Base of card is 5-1/2" X 4-1/4", attach swinging layer to base (don't glue the smallest panel).


Since the stamps are photopolymer, I was able to line up the words I wanted to stamp the sentiment in two lines to fit the space on the card. I also added the stamp with the lines, since it looks like stitching! Fun eh?!


I hope you like my share, enjoy the sunshine :)
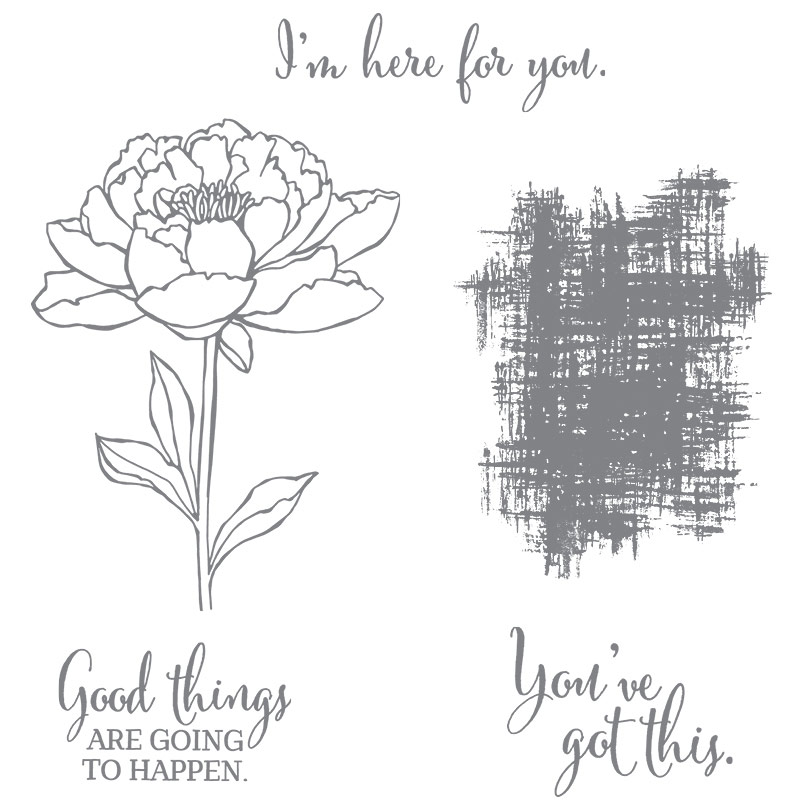
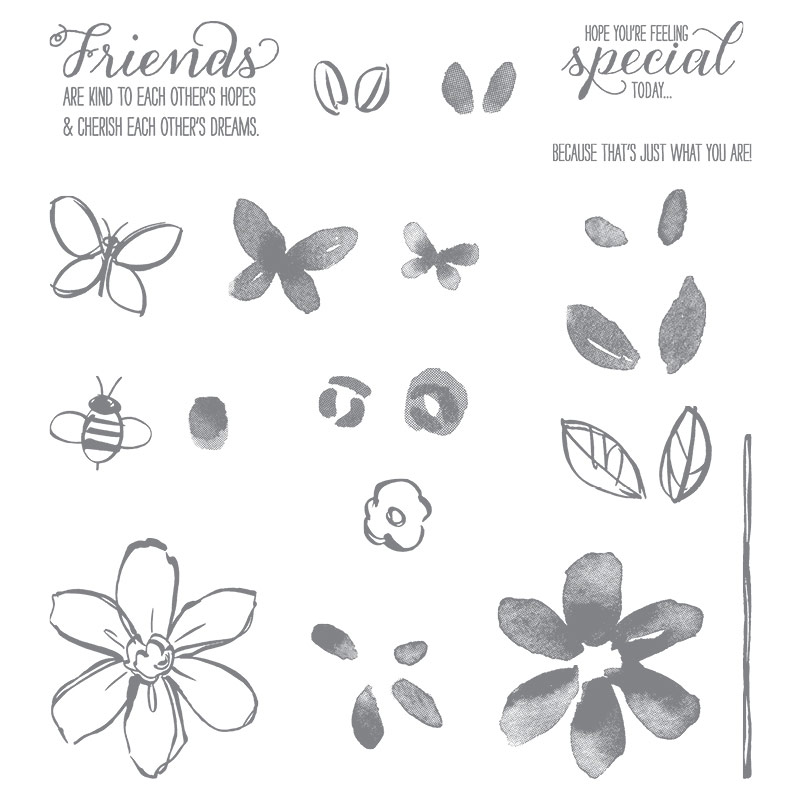
Here's what the entire stamp set looks like - super fun right?! 


Thanks for stopping by, happy stamping!
Beckie

Stampin' Up! Supplies Used:

Built for Free Using: My Stampin Blog

Thursday, August 27, 2015

You've Got This: 3 Dimensional Flower Woohoo!

Today's card features some products from the Annual Catalogue. I used two stamp sets - the first is You've Got This and the second, All Boxed Up. I really liked the "Woohoo" so that's what I went with. I was asked to create a card for a co-worker who had just got a full-time job at a different facility - this is what I came up with. I didn't want to make it a regular Congratulations card, and she's lots of fun so the "WOOHOO" was perfectly suitable. 


I went with this colour scheme because I remember her wearing a pretty coral top and it reminded me of her. I stamped 4 of the peony images and coloured and fussy cut them out to add some nice dimension to the flower. I kept the colouring simple, just solid colour - no shading! 


It does add some nice dimension with all the layers, I wish I had a real peony plant in my garden in coral. I kept the card pretty simple to offset all the cutting I was planning on doing. I think it gives a nice balance, don't you? The designer series paper I chose is from one of the paper stacks called Pretty Petals... 48 sheets of sheer gorgeousness. I love all the papers this year, just wait until you see all the papers in the holiday catalogue (next Tuesday... eeekkkk!!) 


This stamp set offers some nice sentiments as well which would have worked, but I was already set on the one I used from All Boxed Up. I hope she likes it, and that you do as well. Have a great day :) 


Thanks for stopping by, happy stamping!
Beckie

Stampin' Up! Supplies Used:
Built for Free Using: My Stampin Blog

Wednesday, August 26, 2015

Garden in Bloom: Thinking of you

Today, I have a card to share that I made for one of my co-workers family. We got the unfortunate news that she passed away earlier last week. I wanted to give them a card and write how I and some other co-workers felt about her and how she made our days better. I'm sure that they already knew that she was great, but I really wanted to give them something. I'm sure most of you have someone who you work with who everyone likes. Who always is cheerful, and brightens everyone's day. 


She was one of those people that you couldn't help but like. She was kind, friendly, generous, hard working, outgoing, and she was hilarious too. I remember being sick, and coming back the next day to hear she'd been sent to the hospital. Only three weeks later we found out she had passed away. I always remember coming into work and saying hello to her... and she would always reply "better now that I see you, good looking!". She had a way with words and making people feel better. I miss her already. 


She loved butterflies, so I just had to make a pretty card with lots of them on it! This designer series paper from the Pretty Petals stack was just perfect! I also stamped and fussy cut out several flowers from the Garden in Bloom photopolymer set. It's a nice multi-stamping set, which is great since it saves on colouring! 


I used Calypso Coral, Pacific Point and Mint Macaron to add colour to the flowers and butterfly. The sentiment I chose is from the set Sheltering Tree. I just love the scripted font in that set. She would have loved this card. She always made me smile and laugh, and she will be sorely missed by everyone who crossed her path. May she rest in peace. Whenever I see a butterfly, I will think of her soaring above us. 


Thanks for stopping by, happy stamping!
Beckie

Stampin' Up! Supplies Used:
Built for Free Using: My Stampin Blog

Tuesday, August 25, 2015

Embellished Ornaments Glittered and Gold!

I have another holiday card featuring some new products from the upcoming 2015 Stampin' Up! Holiday Catalogue. Products from this catalogue will be available for ordering on September 1, one week from today. One of my top picks from the new catalogue is the Embellished Ornaments Framelits Dies. I absolutely love the detailed dies, they add such nice sophistication to your holiday projects. I opted for mostly gold and silver - with some white and lost lagoon papers added into the mix as well. 


I punched and die cut numerous stars with a piece of Gold Glimmer paper to make a stencil-like layering piece, which I adhered onto some Whisper White card stock. I added a strip of Silver Glimmer paper and a panel of gold and white striped designer series paper from the Winter Wonderland Specialty Designer Series Paper. 


These papers are seriously stunning! I love metallic with black and white. It's so hard to choose a favourite design since they are all fabulous. The scripted die cut Peace is also new from the Christmas Greetings Thinlits Dies, which includes 3 scripted sentiments - Peace, Merry and Jolly. Such a beautiful font to add a nice touch to your holiday projects!   


As a final touch, I tied a piece of 1/8" silver ribbon around the top of the ornament. The ornament is the focal point and shines all on its own even if it's not all glittery and golden! I hope you like my card, enjoy your day :) 


Thanks for stopping by, happy stamping!
Beckie

Monday, August 24, 2015

A Wetland Reflection

Today, I have a card to share featuring a stamp set from the Annual Stampin' Up! Catalogue. Actually, it was new in June 2014. I'm talking about Wetlands,  and it's still as great now as it was then. I was playing around with the Reflection Technique for a recent class. It is such an effective technique and can work with a variety of stamps, and the goose from this set paired with the reeds makes for a perfect reflection card. 


I began by stamping the goose and reeds, I did make a mask of the goose and stamped and cut out a second goose to add on top with a dimensional. I then stamped on a window sheet and re-stamping the goose upside down to make the reflection. Then came a lot of sponging... 


I love adding sponging to my cards, and it's perfect combined with reflection images. I started with a dark blue, Night of Navy Classic Ink where the water is supposed to start. Then I added some Pacific Point, Tempting Turquoise and Soft Sky with a bit of yellow from Daffodil Delight for the sky. 


As a final touch, I added a Thinking of You sentiment from the same stamp set and some white lines made with the Chalk Marker. The goose was coloured in with Stampin' Write Markers, Sahara Sand, Soft Suede and Pumpkin Pie. I hope you like my card, if you have any questions please let me know! 


Thanks for stopping by, happy stamping!
Beckie


Stampin' Up! Supplies Used:

Built for Free Using: My Stampin Blog

Thursday, August 20, 2015

Sneak Peek: Reason for the Season


It's never too early to get a head start on your holiday cards. My stamping inspiration today is doing just that! This stamp set was immediately at the top of my list since it can be bundled with a punch. Who doesn't love a paper punch and a bundle?! The stamp set is called Reason for the Season, which can be bundled with the Festive Flower Builder Punch. 


I started with a Cherry Cobbler card base, which I embossed with the soon to be new Softly Falling textured impressions embossing folder. Let me tell you how absolutely gorgeous this folder is... it has a greater concentration of dots at one end and trickles down like snow falling. So pretty. 

The stamp set is gorgeous, and makes stamping poinsettias super easy and stunning! You stamp the outline, then the flower portion, then the leaves. I opted for two different colours, one Old Olive and Cherry Cobbler and the other Mossy Meadow and Real Red. I fussy cut them out before attaching to my card front. 


I added a strip of Merry Moments Designer Series Paper, a new smaller 6" X 6" paper stack - a smaller size and perfect for your holiday card making. I added a few sequins and a bow made with the Gold Cording Trim for some added shine! All products are available September 1, 2015. I hope you like my share, have a good one :) 


Thanks for stopping by, happy stamping!
Beckie

Stampin' Up! Supplies Used:
Stamps: Reason for the Season
Papers: Cherry Cobbler, Whisper White and Mossy Meadow Card stock; Merry Moments Designer Series Paper
Inks: Cherry Cobbler, Real Red, Old Olive and Mossy Meadow Classic Inks
Accessories: Gold Cording Trim, Metallic Sequins, Glue Dots, Stampin' Dimensionals, Paper Snips, Softly Falling Textured Impressions Embossing Folder, Big Shot


Monday, August 17, 2015

Sneak Peek: Winter Wishes

Good morning! I was lucky enough to get the chance to play with some new products at my upline, Jenn's place a couple of weeks ago. It's always a fun night out sharing ideas and "playing" = creating! She pre-ordered a set that I didn't pre-order. After giving it a stamping spin, I really like it and have a ton of ideas for this set... so it's on my next order! It's called Winter Wishes, and it has a snowshoe, a ski, a sled, a skate, a pine cone, a sprig of pine and a sentiment "Warm Wishes". 


I will say that this card isn't a simple one - a lot of stamping, and a lot of fussy cutting... but, that was what I'd envisioned. It is a set that you could produce quick and easy cards as well. I stamped the pine branch sprig a whole bunch of times around the outer edge of my Whisper White card stock using Always Artichoke Classic ink and went from there. I stamped one sled with Tip Top Taupe, two snowshoes with Early Espresso, two ski's with Night of Navy and two skates with Smoky Slate Classic Inks. I stamped a whole bunch of pine cones to add to the sprigs and did fussy cut a couple of sprigs to layer over some of the items. Below is a close up of all the cutting. It was believe it or not, not all that time consuming to cut all the images out! I added a piece of new Gold Cording Trim for the ties for the skates and a bit of shine. 


This card is very masculine, and this set would work great for guy themed cards... it also works for the ladies and kiddos too. I know it's still too early to even think about the holidays (Christmas), but it's never to early to get a head start on things as it sneaks up on us so quickly. I've already got all my shopping done as well! Any excuse to avoid the malls in November-December!!! I hope you like this card, and enjoy this beautiful sunny day! 


Thanks for stopping by, happy stamping!
Beckie

Stampin' Up! Supplies Used: 
Stamps: Winter Wishes (not available until Sept. 1/15)
Papers: Early Espresso and Always Artichoke Card stock; Whisper White Thick Card stock
Inks: Always Artichoke, Early Espresso, Smoky Slate, Tip Top Taupe, Night of Navy Classic Inks
Accessories: Stampin' Dimensionals, Paper Snips, Gold Cording Trim (not available until Sept. 1/15)


Sunday, August 16, 2015

Guy Greetings: Happy Birthday for DAD!

Today, I'm sharing the card I made for my Dad - his birthday is today. Happy birthday Dad! I of course had to go to the Guy Greetings stamp set since it has some very masculine images and sentiments. 


 Since August's birthstone is Peridot, which is a shade of green, so I decided to add an ombre look with the various shades of green that Stampin' Up! has in their current colour families. I started with the lightest, Pear Pizzazz, Wild Wasabi, Old Olive, Cucumber Crush, Garden Green, Always Artichoke and Mossy Meadow. I aligned them all in various sizes from 1/2" to 1-1/4", then embossed with the Boho Chic Textured Impressions Embossing Folder. 


I decided to make the strong arm man the focal point, stamped with Early Espresso Ink onto Tip Top Taupe card stock - then fussy cut out. I then stamped the wrench images, fussy cut them out. Stamped the World's Greatest and DAD sentiments to add to my card. I thought it would be nice to add them all to a die cut star image, I added some Silver Metallic Thread, for a tiny bit of shine. I hope you like it, enjoy the rest of the weekend!! 


Thanks for stopping by, happy stamping!
Beckie


Stampin' Up! Supplies Used: 
Built for Free Using: My Stampin Blog

Friday, August 14, 2015

Sparkly Seasons: May your Season Sparkle & fa la la


I finally had a chance to sit and play with some of the products from the upcoming Holiday Catalogue last weekend. I was excited to try out the Sparkly Seasons stamp set, which also has a coordinating set of framelits bundled with a 15% off savings. I wish I could show you the stamp set now, but rules are rules and I have to wait until September 11th. But, you can see the potential that this set has, right?! 


I really wanted to try out one of the new Softly Falling Textured Impressions Embossing Folder. When I ordered this folder, I could only view the catalogue online and the thumbnail image was so small I couldn't tell what it looked like. I called Stampin' Up! to inquire, and the lady I spoke with said it's a must have... so I ordered it without hesitation. Man, am I happy I did. I love the gradient look with lots of dots at one end and the rest trickling down. In this case, I used it the opposite way since I wanted to add the fa la la die cut. Yep, another fab scripted word die cut. There is actually 4 different words within the framelits.  


I did keep this card rather simple, since I wanted the ballerina to stand out. I fussy cut her dress out, and the snow globe. I am very pleased with how this card turned out, and can't wait to play with this set some more! I hope you like my card, enjoy the rest of your day :) 


Thanks for stopping by, happy stamping!
Beckie

Wednesday, August 12, 2015

Among the Branches with Woodland Texture


Hello, I've got another "sneak peek" to share today. This time, I've got a fall themed card to share. The embossing folder that I used is called Woodland. I swiped the embossed Early Espresso layer with Whisper White Craft Ink. 


This embossing folder can be bundled with an awesome stamp set called Among the Branches. I chose some of my favourite colours, which are coincidentally fall colours. I love the branch, various leaves and silhouette birds. The sentiment die cut, grateful, is from the Seasonal Frames Thinlits dies. I added some gold glitter using Heat & Stick powder. I am grateful for being able to pre-order from this awesome catalogue, I mean AWESOME! I hope you like my share, have a great day!


Thanks for stopping by, happy stamping!
Beckie


Monday, August 10, 2015

Sweet Hauntings decked out Pillow Box


Halloween is my favourite holiday of the year. I think I shrieked when I saw Halloween merchandise in the stores! A shriek is appropriate for Halloween though. When I first viewed the catalogue, I flipped until I found the Halloween stuff and let me tell you it was love at first sight. The fun sayings, papers and embellishments. I used several of the products to create this cute pillow box. I used a fun stamp set called Sweet Hauntings. It has some super cute images, and sayings for the upcoming season. 


If you look closely, you can see the designer series paper called Happy Haunting has little pumpkin faces on it. I chose the sentiment "death by chocolate", which coordinates with the Note Tag Punch. It looks like a tombstone... I've gotta say, death by chocolate wouldn't be a bad way to go! I stamped three of the bottles and fussy cut them out, luckily they aren't hard shapes to cut out so it didn't take long! 


Do you see anything else new? There are a few more. First, the Square Pillow Box Thinlits Dies - which I used to make the box, and the cute little pumpkins too... with BLACK Glimmer paper, yup - BLACK! They're after my own heart with this one!!! Now, they just need some orange Glimmer paper to go with it ;) One last new product is the Spider Web Doilies... awesome right?! A sweet box to fill with sweets! A whole lot of wickedly fun Halloween goodness in this upcoming Holiday catalogue... this box is actually quite large and can hold a lot of sweet treats! I hope you like my share, have a SWEET day :)


Thanks for stopping by, happy stamping!
Beckie

Sunday, August 9, 2015

No Bones About it: Have a DINO-RRIFIC Birthday

I have had fun playing with the No Bones About it stamp set from the Stampin' Up! Annual catalogue. I always found it difficult to create cards for kids, but this stamp set makes it super easy. I think the Stegosaurus image is my favourite, I seem to use him/her all the time. I used Lost Lagoon and Tangelo Twist for my card, I added a fun birthday banner with the Banner Punch. 


 I hope you like it, have a dino-rrific day! 

Thanks for stopping by, happy stamping!
Beckie


Stampin`Up! Supplies Used:

Built for Free Using: My Stampin Blog

Saturday, August 8, 2015

Greetings Thinlits meets Watercolour Wings

I have a confession to make that I'm completely smitten with the Watercolour Wings stamp set? But, I'm sure I'm not the only one... right?! Those pretty butterflies just can't seem to get out of my head, such a beautifully designed stamp set and perfect for beginners and avid stampers!


 I find it hard to throw out my scrap paper bits. I die cut the hello from the Greetings Thinlits Dies for a different project and had the "stencil" portion left over. I saved it so I could use it again, like on my project for today. I trimmed around the word, and matted it onto a piece of Basic Black popped up with Dimensionals for a nice 3-D look. 


I have played so much with Watercolour Wings. It's amazing the sheer number of different colour combinations you can create with this butterfly. This time I tried a tone-on-tone colour combo, using Crumb Cake and Sahara Sand with some stamping off for some lighter tones. Loving how this butterfly turns out each time I stamp different colours. 


I used a piece of designer series paper from the Go Wild stack, a nice black and white diagonal stripe! As a finishing touch I made a bow with Linen Thread, which coordinates perfectly with the brown tones I chose. I hope you like it, enjoy the rest of your weekend :)


Thanks for stopping by, happy stamping!
Beckie


Stampin' Up! Supplies Used:


Built for Free Using: My Stampin Blog

Thursday, August 6, 2015

Sneak Peek: Wonderland, all is calm, all is bright

 Today, I got a box of shiny new toys for me to play with... and it was a few hours early. I didn't have much time to play before work - but I did manage to whip up two cards. I have one to share with you now. Each time I looked at the upcoming catalogue, this stamp set kept shouting "buy me"... seriously it did. I tried to tell myself that I didn't need another tree stamp, but I guess I did! This stamp set also coordinates with a stunning pack of designer series paper and vellum, plus wooden die cuts, washi tape and metal embellishments. They are all so BEAUTIFUL! I decided to keep it simple for my first card by stamping a forest with several shades of green. Then I stamped the snowflakes with Soft Sky Classic ink.


Another super exciting thing is that there is a new Archival Basic Black and Gray ink! Let me tell you, it's the best black I've tried - I LOVE IT!!! I used one of the sentiments and stamped it onto a piece of Thick Whisper White Card stock and added a bow made with another new item - Gold Cording Trim (also comes in silver) and tied it around a pine sprig that I coloured with Stampin' Write Markers and fussy cut out. Did you notice that I stamped the Early Espresso card base with the same sprig with the same colour ink for a subtle tone-on-tone look. I know it's early for Holiday cards, but I just couldn't resist playing with some new stuff - I hope you like it :)


Thanks for stopping by, happy stamping! 
Beckie

Stampin' Up! Supplies Used:
Stamps: Wonderland
Papers: Whisper White Thick Card stock, Early Espresso and Mossy Meadow card stock
Inks: Mossy Meadow, Always Artichoke,Old Olive, Soft Sky and Early Espresso Classic Inks; Early Espresso and Always Artichoke Stampin' Write Markers; Archival Ink - Basic Black
Accessories: Stampin' Trimmer, Paper Snips, Gold Cording Trim, Stampin' Dimensionals, Handheld Stapler, Silver Staples

Wednesday, August 5, 2015

Hello, Beautiful Boho Butterflies

One of my favourite stamp sets from Stampin' Up!s Annual Catalogue is the Bohemian Borders. I stamped a diagonal background with two of the stamps from the set using Tip Top Taupe Classic Ink. With a layer of Basic Black, then attached to an Boho Chic embossed background of Tip Top Taupe card stock. I cut three hello die cuts from the Greetings Thinlits Dies. As a final touch, I added a black on black butterfly. 


New items have been added to the Clearance Rack today, while supplies last. you can view the discounted items HERE. I hope you like my share, have a Boho-utiful day (I know that's not a word, but I'm going with it anyways)! 

Thanks for stopping by, happy stamping! 
Beckie

Stampin' Up! Supplies Used:


Built for Free Using: My Stampin Blog

LinkWithin

Related Posts Plugin for WordPress, Blogger...