Saturday, February 28, 2015

Mini Treat bags Stacked with Love

It's supposed to be another cold one - they said it's the coldest February on record. I believe it - it's been below freezing the whole month. Let's hope March is warmer, and we can see some of this icky snow melt so the flowers can start to bloom! 

For today, I've got a cute treat bag to share. Stampin' Up! announced that the Stacked with Love Designer Series Paper is the most popular paper in the Occasions Catalogue?! It's no surprise to me, it's my go-to paper... it works for so many occasions, not just Valentine's Day. Red is one of my favourite colours, I wear it almost everyday so it's no surprise that I like it! Plus, you can never go wrong with black and white. Let's check out these cute treat bags I made to house a sweet treat! 


I made a whole bunch of these treat bags, some using the red and coral papers and some the black with white. No matter which side you use, you can't go wrong with this fab paper stack. I wrapped my Rice Krispies Treats in a 4"X 6" Cello Bag, tied with some twine and gold satin ribbon before attaching a cute bow made with the new Bow Builder Punch. These treat bags take no time at all to create, especially with the Mini Treat Bag Thinlits Die. 


Stampin' Up! Supplies Used:
Stamps: Hello Life
Papers: Stacked with Love DSP; Basic Black, Whisper White, Real Red Cardstock
Inks: Tuxedo Black Memento Ink
Accessories: Mini Treat Bag Thinlits Die, Bow Builder Punch, 4" X 6" Cello Bags, Gold Satin Ribbon, Whisper White & Basic Black Baker's Twine, Word Window Punch, Sweetheart Punch, Glue Dots, Stampin' Dimensionals, Stampin' Trimmer, Big Shot, Magnetic Platform

Thanks for stopping by, happy stamping!
Beckie

Friday, February 27, 2015

Cheerful Critters: Mini Matchbook

I've got a cute mini matchbook perfect for many occasions. I used the super cute Cheerful Critters coloured with Blendabilities - I cut it out and attached to the front of the matchbook.
These are super easy to make a bunch for any occasion!!
 
 
The tiny flap is folded inwards and stapled, which will hold the top flap secured.
 
 
This size holds a Lindt or Ghirardelli chocolate nicely. The perfect packaging for a tasty little treat!
 
 
This is the open view, I added a dimensional to the back of the chocolate so it doesn't fall out.
 
 
 Here's the template, it's very simple to create a bunch of these in no time.
 
 
I hope you like my share, and will try to make some for yourself - have a great day :)
 

Stampin' Up! Supplies Used:
Built for Free Using: My Stampin Blog


Thanks for stopping by, happy stamping!
Beckie

Thursday, February 26, 2015

Irresistibly Yours HAPPY Birthday

I don't know about you, but I tend to hoard my designer series paper. When I received the Irresistibly Yours Specialty Designer Series Paper, FREE with every $60 purchase (Canadian) was no exception. I was scared to use it, for fear of it running out. This paper is so lovely, it has pre-embossed designs all ready to go - just add your ink and wipe. No heat tool, no embossing powder... all the hard work is done!! I decided that was just plain silly to not use it, so I went ahead and made something with it. I wanted to try out the Metallic Encore pads to have a sparkly ombre effect on my card. The photos really don't do it justice, it is so pretty in person with the metallic shimmer throughout. 


After I had my background inked up - I wiped it off good to avoid any of the metallic ink coming off on the card recipients hands. The white embossed lines really pop. I used a diecut from the Hello You Thinlits Dies - the happy. The white wasn't enough of a "pop", so I embossed using gold and silver encore ink again - and some clear embossing powder.


Then I added some banners from the Balloons Framelits Dies and some White Baker's Twine bows! The "Birthday" sentiment is stamped on a piece of Silver Foil, using Black StazOn Ink - it adds a nice effect. I hope you like it :)


Stampin' Up! Supplies Used:


Built for Free Using: My Stampin Blog


Thanks for stopping by, happy stamping!
Beckie

Wednesday, February 25, 2015

Make it GEOMETRICAL!

I re-visited another of my favourite sets from the Stampin' Up! Annual Catalogue last week during some crafty time. I chose to use Geometrical which has been well loved. But I set out to use each of the sentiments, the Love you so, Cheer up buttercup and Hooray for today for my projects today. First off, I used my favourite of the triangle images and with the help of the handy dandy Stamp-a-ma-jig I made a fun geometric background. Words cannot express how much I love the stamp-a-ma-jig!!
 
For my first card, it was all about the love you so sentiment.


I used Mossy Meadow and Lost Lagoon for the colour scheme.
 
 
I stamped a bunch of the sentiment and cut multiple banners to show them off.
Tucking the ends under the ribbon! I finished with some punched out hearts.
 
 
For the cheer up buttercup sentiment, I wanted to make multiple coloured layers with heat embossed layers. I chose some bright cheerful colours to pair up with the sentiment.
 
 
Hello Honey, Real Red, Lost Lagoon, Tangerine Tango, Rich Razzleberry and Tempting Turquoise. Some nice vibrant colours to hopefully cheer someone up!
 
 
For the last sentiment in the set, Hooray for today.
It's probably the one I use the most, since it can be used for multiple occasions.
 I used the same triangle and the stamp-a-ma-jig to make the background in different colours.
I used Tangelo Twist and Hello Honey.
 
 
I had fun creating these cards, using the Geometrical stamp set.
I encourage you to re-visit some of your older stamps and breathe new life into them.
Have a great day :)
 
 
Stampin' Up! Supplies Used:
Built for Free Using: My Stampin Blog

Thanks for stopping by, happy stamping!
Beckie

Tuesday, February 24, 2015

Giggle Greetings Grunged Out

Last week I had a bit of crafty time - since it was too COLD to go outside, I decided to "play" with one of my neglected stamp sets. Whenever a NEW catalogue or new products come out, I seem consumed by them and only want to "play" with them. I decided I'd pull out one of my favourite sets from the Stampin' Up! Annual Catalogue. I chose to play with Giggle Greetings. This is one of those sets that I ordered immediately last June, well for two reasons. One there is a cat in the set, and two because the sentiments are just too funny to resist. I set out on my mission to use EVERY stamp in the set, and that I did. I went for a grunged out look for these four cards... but I am loving how they turned out! Check them out....
 
 
For this first card, I used the "swiss-cheese-cake", hahaha... The only cheese cake I'd ever eat, as I don't like cheesecake (I know it's weird, but hey!). I have been on this vintage/grungy look lately using sponges, embossing powders and the distressing tool to get the desired look. I kept the same colour scheme for my four cards, as I wanted them as a set.


I started with a base of Very Vanilla, and layers of Chocolate Chip and Very Vanilla.  I really grunged out the vanilla top piece. To get the splatter look, after I sponged my piece - I simple splattered water onto my paper to get the spotches. You may also notice some of the creases, I actually crumpled the paper a bit - so that when I sponged it would show darker.


Here's a close up of the swiss-cheese-cake image. I heat embossed with Clear Stampin' Emboss Powder two times. The second one I cut out the cheese and candle only and popped them up on dimensionals. Next, is the cute kitty cat.... 
 
 
What's better than ONE cat, three. I decided to re-visit my stenciling using the Decorative Mask from the Dots & Stripes pack. I chose the dots, I sponged, then doodled some black lines - to look like string or hairballs like the stamped image.


I stamped and trimmed around the kitties, then coloured them in with Smoky Slate, Pumpkin Pie and Crumb Cake Blendabilities Markers. But it still needed something. So I added a Happy Birthday To You sentiment made with the Alphabet Rotary stamp. It's perfect for making your own custom greetings. I like to cut them out so they look like labels.


As a final touch, I had some strands of Burlap Ribbon (as I rarely throw my scraps away, since you never know when you may need one!?). I made them in a circular pattern around the kitties before adhering the layer to the card front.
 
 
 Next up is the bowl of cherries...
 
 
For this one, still keeping with the theme - opted to use the Hardwood background stamp. I must say this is one of my all-time favourite and most used stamps - LOVE IT!! I then stamped the bowl of cherries twice, cuting out the top image around the bowl - not the stems... too fussy.


I used the Banners Framelits Dies to mat my cherries onto and tied a piece of Vintage Crochet Trim to the top. The cherry bowl is also coloured with blendabilities - Smoky Slate and Cherry Cobbler. I did add a bit of Old Olive to the stems. I again used the Alphabet Rotary stamp to make the Feel Better Soon sentiment at the bottom of my card. Love this fun sentiment - "Sometimes life is just a bowl of cherries.. and sometimes it's just the pits."  My last one has the cute doggy chasing his tail...


For this one I tried some doodling around the edge of my Very Vanilla layer... I love the look of doodling and there is no right or wrong - just where the pen takes you! I made my layers look like a ribbon (well, sort of!), adding a bit of Basic Gray for the banners - since I coloured the doggy gray too. I used the same splatter technique as the cheese card.
 
 
I had so much fun playing with this set and giving them all a vintage/grunged out look. The coloured images really pop off the card with the neutral card bases!
 
I have another set that I haven't played with in a while, that I made a card with each of the different sentiments to share later in the week with you. I hope you'll come back to check them out. Have a great day!
 
Stampin' Up! Supplies Used:


Built for Free Using: My Stampin Blog


Thanks for stopping by, happy stamping!
Beckie

Monday, February 23, 2015

Stacked with Love: Lever Card with Tutorial

Hi there stampers! Happy Monday - I've got a fun tutorial to share with you today... it's called a Lever Card. I decided to make one of these fun cards for my hubby for Valentine's Day. I know Valentine's Day is over, but it could work for an Anniversary or Birthday too - or just change the paper and stamps and make it any occasion you want!


I used my newest obsession the Stacked with Love Designer Series Paper to decorate my card front. I decided to colour some with the Calypso Coral Assortment of Blendabilities Markers to add a bit of colour to the otherwise black and white paper. Although it is very beautiful in black and white also.
 
 
Lever Card Instructions:
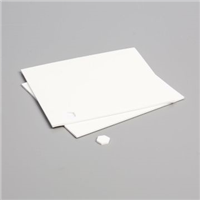
First you will need a piece of 8-1/2" X 11" cardstock, whichever colour you desire - I used Basic Black.

Cut your cardstock in half at 5-1/2".

Take one piece of your 5-1/2" X 8-1/2" cardstock and score at 4-1/4". Set aside.

Take your second piece of 5-1/2" X 8-1/2" cardstock and score at 4-1/4" & 6-3/8". 

 
Take the first piece you scored only once, line up one end at 7-1/2" in your Stampin' Trimmer and cut from 1" to 4-1/2".

Flip card over and line up at 3-1/4" and cut from 1" to 4-1/2".
Make a cut from the first cut to the second to make a window as shown below. 


Now, we're going to work with the second piece of 8-1/2" X 5-1/2" with the 4-1/4" & 6-3/8" score lines. Score opposite end at 2-1/8", up 1" on each end.

Line up your piece with one end at 7-1/2", like you did on the first piece. Note: The end with the partial score lines will be the end you cut on - cut from 1" to 4-1/2".

Next, cut from the line you just made up to the score line (2-1/8" score line) - like shown below:


That's all the cutting required for your base. You will only need to cut again if you want to add multiple layers, such as designer series paper or more cardstock. You can see below how the card will be assembled to create the lever mechanism.


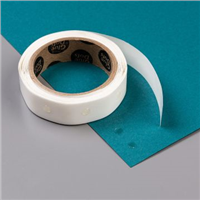
Add some double-sided adhesive tape of your choice (something stronger than snail). Sticky Strip, Score tape, Fast Fuse, Tombo Multipurpose Glue. Note: If you use Tombo, you will have to hold your layers together until they are secured. Attach one side (end) at a time with whichever adhesive you choose.


Add tape/glue to the same side of your layer with the lever mechanism like shown below.


Attach your tape to the second piece like shown below.
Starting with one end at a time, try to get the ends to match exactly before removing the tape lining and press to seal. The lever should go into the window hole easily.


Once your base pieces are assembled, you can decorate your card as desired. I cut my layers 7/8" smaller than the base to allow some of the black to show through.


For the front layer around the window, I cut the same way as I did for the card base, but cut 7/8" smaller around the entire piece to have a nice mat. The inside layers measure: 2" X 5-3/8" - you will need 2 pieces.
 

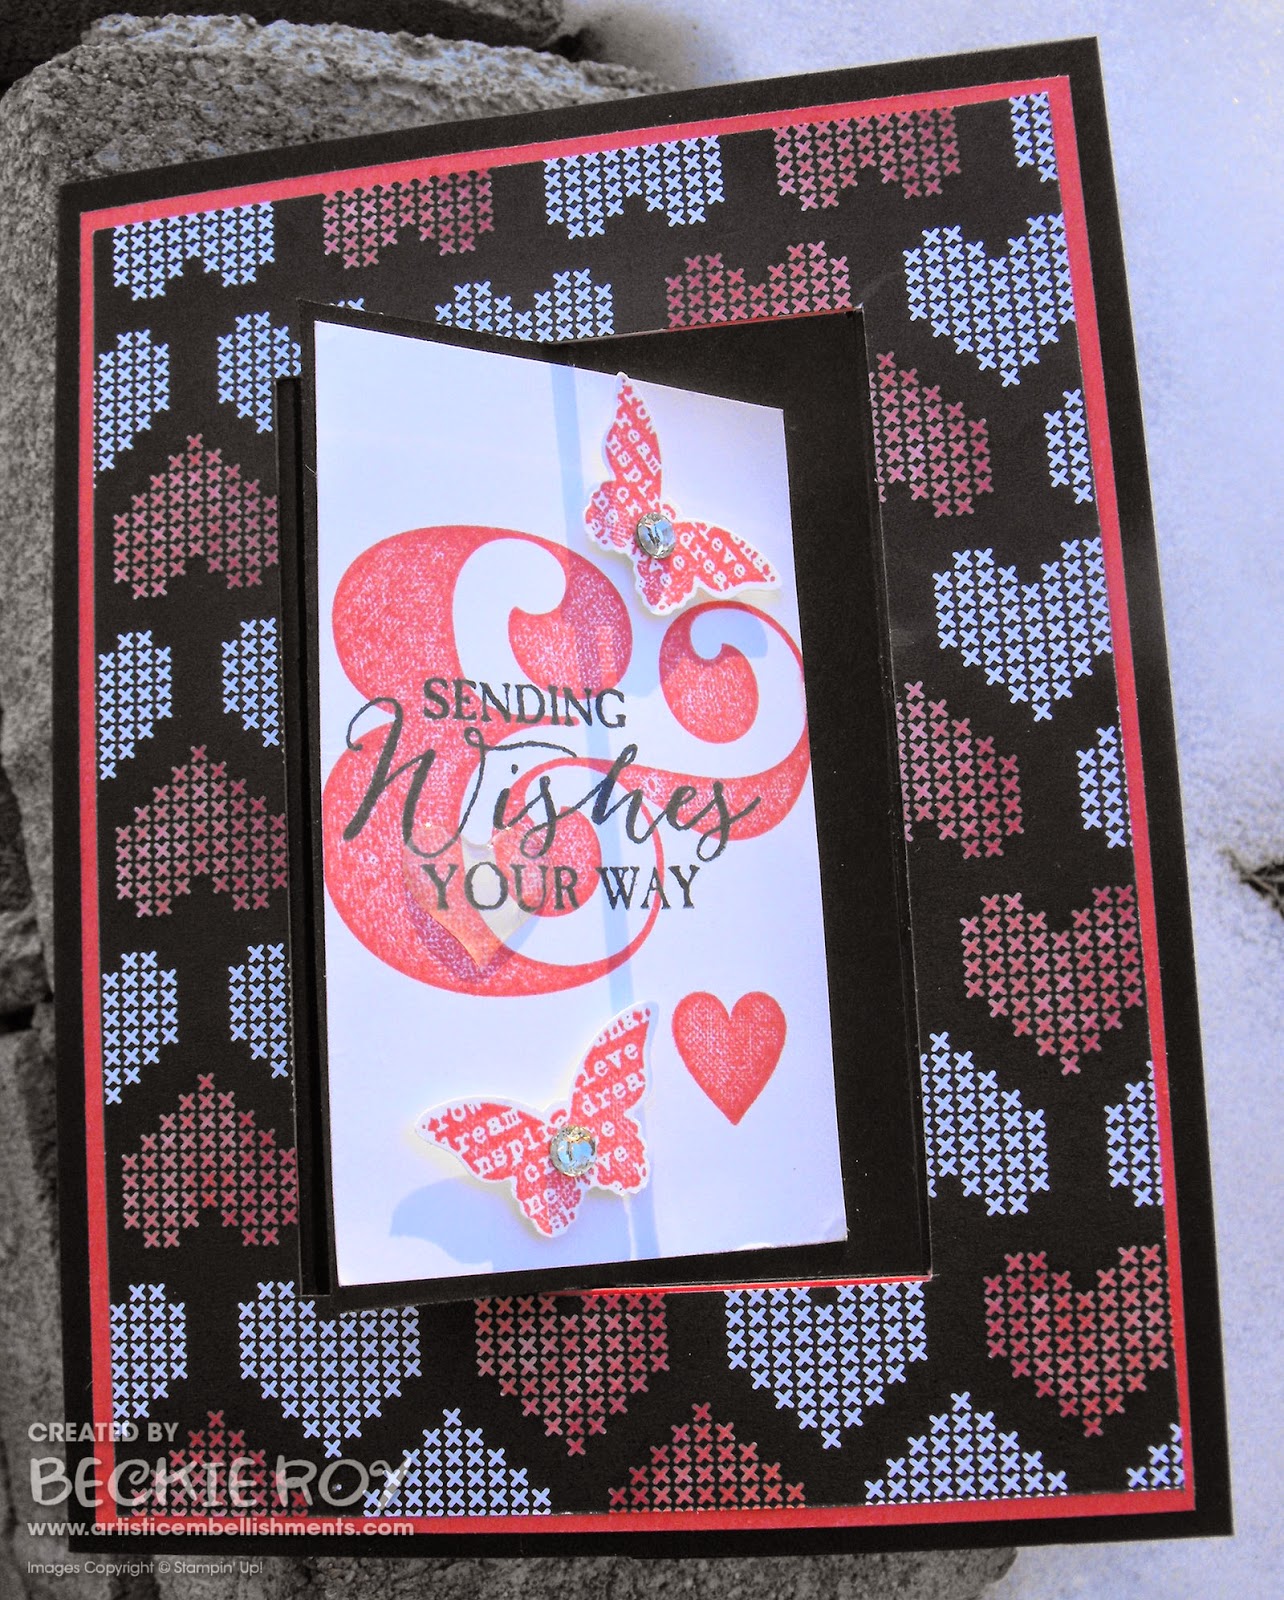
Here is what your finished card will look like from the top of the card. It might be cute to add some paper flower popping up from the middle?! The card stands up very nicely, to be shown off.


To decorate my card I used my favourite piece of designer series paper from the Stacked with Love Designer Series Paper Stack - I love those fun hearts, my favourite design from that paper stack.  I decided to go with Calypso Coral with my Basic Black, instead of the traditional red coloured Valentine. I'm really loving the coral lately. I used my Calypso Coral Blendabilities Markers to colour in some of the hearts. Then I used that awesome ampersand from the You Plus Me stamp set, along with the Be Mine on the inside of my card. I added some butterflies from the Butterfly Basics stamp set, which the senitment on the front (lever) is also from.

 
It's hard to see, but as a finishing touch I added a heart from the 'Itty Bitty Accents Epoxy Stickers' over the YOU in Sending Wishes "Your" way. I thought it was a nice touch.
 
 
 Below is another view of the card opened up.


 I hope you like my card, if you have any questions please let me know!


Stampin' Up! Supplies Used:
Stamps: You Plus Me, Butterfly Basics
Papers: Stacked with Love Designer Series Paper, Basic Black, Whisper White and Calypso Coral Cardstock
Inks: Calypso Coral Classic Ink, Tuxedo Black Memento Ink, Calypso Coral Assortment Blendabilities Markers
Accessories: Stampin' Trimmer, Stampin' Dimensionals, Bitty Butterfly Punch, Simply Scored Scoring Tool, Simply Scored Stylus, Rhinestone Basic Jewels, Itty Bitty Accents Epoxy Stickers, Stacked with Love Designer Washi Tape


Thanks for stopping by, happy stamping!
Beckie

Sunday, February 22, 2015

Butterfly Basics is Simply Beautiful!

The Butterfly Basics stamp set is one of those sets that I knew I had to have. It was immediately at the top of my wish list back in December for demonstrator pre-order. Not only because of the butterflies, but the pretty foliage stamp, the flower, sentiments, and the hexagon background stamp! Well, that's pretty much the whole thing - so I guess I love all of it! I like to sit down with my new stamps and just play and see where my imagination takes me.
 
One of my co-workers was having a birthday at the end of January and I wanted something nature inspired and pretty, but not over the top. She loves nature, flowers and does a lot of Horticulture Therapy at my work as part of our Therapeutic Recreation department. So basically this card is perfect for her! Nature everywhere :)  Plus, it's a nice punch of colour to brighten these dull, wintery days.

 
This card was pretty quick to make. Nothing fussy, mostly stamping. I chose softer colours, Wild Wasabi, Crisp Cantaloupe, Calypso Coral, Daffodil Delight and Soft Sky. I stamped the foliage stamp several times - only re-inking ever other stamp for a softer look. I chose to only stamp the corners opposite each other and then have the butterflies fluttering through the middle. I first stamped the small butterflies, then stamped again in a different colour - punched them out and popped up for some dimension. It's hard to see, but the background is stamped with the hexagon background image - you know how I feel about hexagons!! Love them :)


I hope you like my card, have a great day!

Stampin' Up! Supplies Used:

Built for Free Using: My Stampin Blog


Thanks for stopping by, happy stamping!
Beckie

Friday, February 20, 2015

Moon Lake: Make it Masculine

The Moon Lake stamp set is so lovely. I always seem to be drawn to the nature inspired stamps. Of course this one was no exception - I had to have it. My favourite image is the boat, it reminds me of my Dad... as we like to go canoeing (I know it's not a canoe, but it's close). I had an idea and ran with it... or should I say stamped!!
 
 
I wondered how it might look to have the images all in circles with the main coloured used to colour them with as the border. Also with one of them as a window. I played around with the layout until I had the images just right. I wanted them all facing inwards towards each other.

 
You can see the window portion a bit better here - I first coloured just the focal images, but it wasn't enough... nature is colourful, so I coloured! This set of stamps is perfect for masculine cards and sympathy, thinking of you type cards. The images are so peaceful. I hope you like it, have a terrific weekend :)

 
Stampin' Up! Supplies Used:
Stamps: Moon Lake
Papers: Whisper White, Basic Black, Night of Navy, Real Red and Smoky Slate Cardstock
Inks: Versamark (White Embossing Powder); Tuxedo Black Memento Ink; Blendabilities Markers: Smoky Slate, Calypso Coral, Cherry Cobbler, Old Olive, Wild Wasabi, Crumb Cake, Night of Navy, Soft Sky
Accessories: Circles Collection Framelit Dies, Stampin' Dimensionals, Stampin' Trimmer, Heat Tool, Big Shot, Magnetic Platform, 2" Circle Punch
Built for Free Using: My Stampin Blog


 Thanks for stopping by, happy stamping!
Beckie


Thursday, February 19, 2015

Celebrate today: Wedding Card

Hi there! One of my stamping friends recently got married in January.
Today, I'm sharing the card I made her...
 I started by making a base card 8" X 8", score at 4" since I wanted a bunch of balloons at the top of the card. I stamped a couple balloons onto my layering piece for the front. 
 
 
I then added some glitter using Iridescent Ice embossing powder. 
On the right side I die cut one of the balloons to make shaker frame.  
 
 
I added a few more balloon die cuts, some banners and sequins for a bit more jazz...
 
 
There is lots going on ... it's a busy card, but I'm pleased with how it turned out!
  
 
After I removed the Bermuda Bay sequins - I had a bunch of the string left over so I added a bow onto the sentiment.  
 
 
I hope you like it, have a great day :)

Stampin' Up! Supplies Used:
Price: $36.95
Price: $5.95
Price: $122.95
Supply List
Built for Free Using: My Stampin Blog
Thanks for stopping by, happy stamping!
Beckie


LinkWithin

Related Posts Plugin for WordPress, Blogger...