Wednesday, November 26, 2014

MDS Hybrid Graffiti Card

 
Hello... sorry I've been MIA - I've been super busy with work and our annual holiday bazaar I haven't had much time to do much of anything else. Anyhoo, today I have two shares for you. I used Stampin' Up!s My Digital Studio to create both cards - but added traditional card making elements - so I call them "hybrid" cards since they are both blended together.
 
I was a presenter at this years' Fall Stamparama that my upline organizes. It's an awesome full day stamping event. I did a presentation on "Subway Art", or it has also been referred to as "Graffiti" and "Typography". Whatever you call it - it's a pretty cool technique!! Using MDS, I just opened a blank document (8-1/2" X 11") and chose a square punch and enlarged it to the size I wanted. You want to choose a common theme - for the first one I was making an anniversary card... so I chose digital stamps that fit the theme appropriately. Stamps such as Love, celebrate, Me + you. I also added some of my own - which is easy to do in MDS by adding a text box. This type of software makes this type of project really easy since you can re-size and adjust your text, font to fit your desired shape.


For this next one I made a "Friend" card... so every stamp is related to that theme. The great thing about this technique is it is a stand-out! Meaning, you don't need much else to make your card a one-of-a-kind. There are so many possibilities for this fun technique, I made a whole bunch - I'll try to share some soon! Have a super day :)


Stampin' Up! Supplies Used:
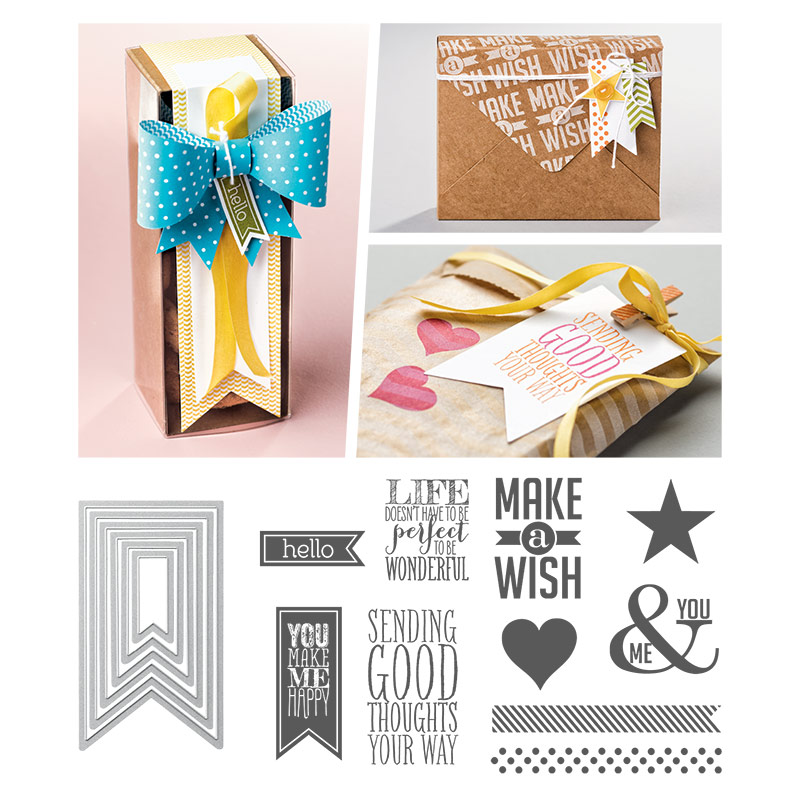
Stamps: Stamps used in My Digital Studio, various
Papers: Whisper White, Garden Green and Basic Black Cardstock, Trim the Tree and Flower Pot Designer Series Papers, Gold Glimmer Paper
Inks: My printer
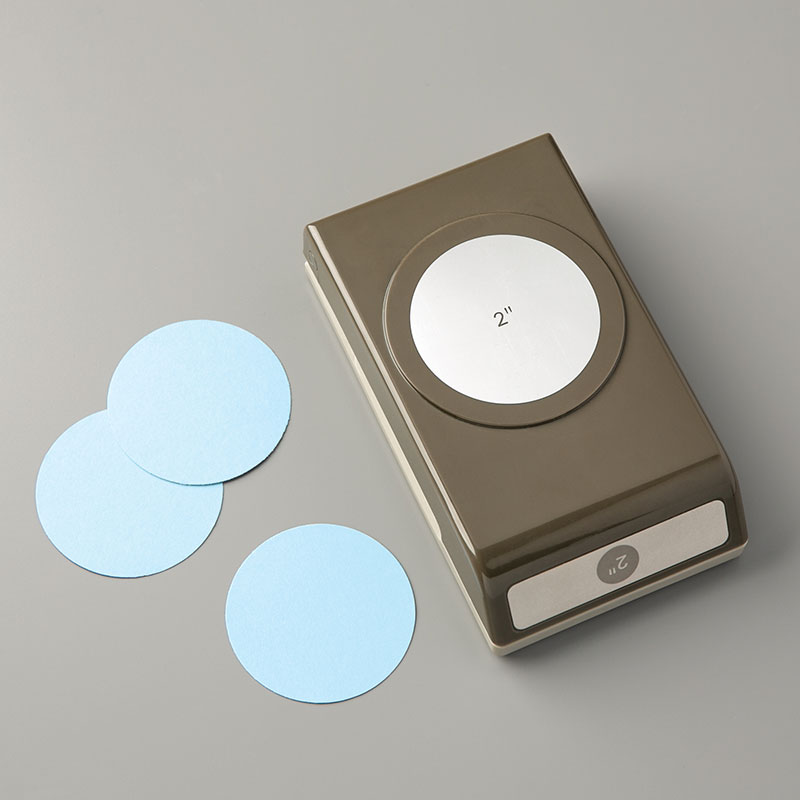
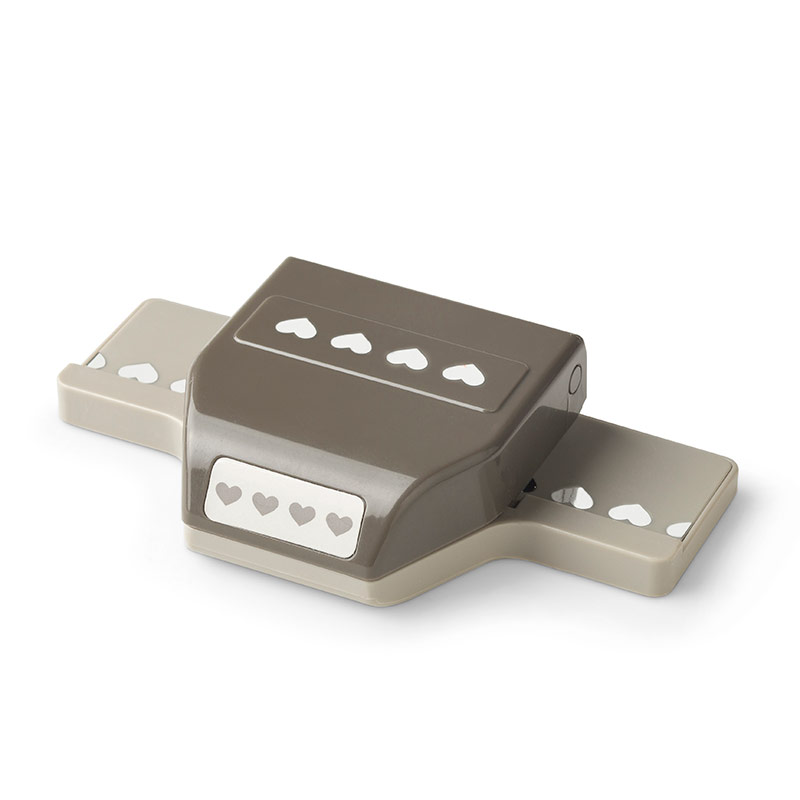
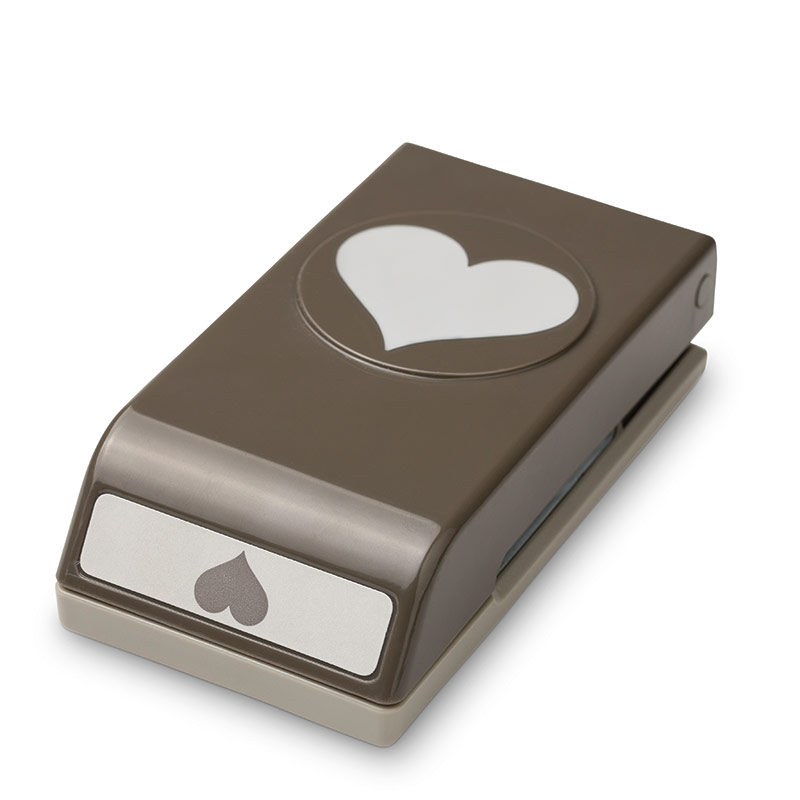
Accessories: Linen Thread, Itty Bitty Accents Punch Pack, Stampin' Trimmer, Stampin' Dimensionals, Rhinestone Basic Jewels
 
Thanks for stopping by, happy stamping!
Beckie

Monday, November 24, 2014

Naughty, Nice & FABULOUS + Online Extravaganza Sale TODAY!

Hello ... I hope that you all had a great weekend! It was my birthday on Saturday and I enjoyed some time with family and friends. I got to go to my favourite restaurant for dinner, followed by some stamping at my upline's house for some much needed creative time! A good day for me :)

I used one of my favourite sets for my card today - Visions of Santa paired with my favourite product, Mr. Hexagon punch! I just love those dancing Santa's... I punched some Whisper White and Pool Party cardstock with the Confetti Stars, then punched some hexagons. I stamped some Santa's and the cute moose along with some of the fun sentiments.

 
I actually used a Halloween Designer Series Paper, Motley Monsters for some more pops of colour and some Silver Glimmer Paper for some sparkle! LOVE IT :)


Some exciting news........ Stampin' Up!s annual holiday sale begins today!!! And it's filled with great doorbusters today and December 2nd. The sale only lasts one week, so don't miss out on some fabulous products at up to 50% OFF.

 
24-HOUR DOOR BUSTERS!!! November 24th Only
Select Textured Impressions Embossing Folders (pages 226-227 in Annual Catalogue), plus Holiday Catalogue folder too.
reg. $9.95; sale $7.00 each
Excludes: Stylish Stripes, Woodgrain, Chevron & Beautifully Baroque
 
Gift Box Punch Board 30% off #135863
reg. $24.95; sale $17.47
 
Everyday Occasions Cardmaking Kit & Hip Hip Hooray Cardmaking kit #140350 
reg. $61.90; sale $43.33


My top picks:
 
50% OFF
2" Circle Punch (133782 - reg. 22.95; now 11.48)
You can't go wrong with a circle punch, very versatile!
Hearts Border Punch (133784 - reg. 20.95; now 10.48)
A pretty border for a pretty card or use punched bits for a shaker card or additions to a card front.
Sweetheart Punch (133786 - reg. 21.95; now 10.98)
Perfect for Valentine's Day coming up!
Hello Honey 3/8" Stitched Satin Ribbon (133671 - reg. 12.25; now 6.13)
Lost Lagoon 3/8" Stitched Satin Ribbon (133672 - reg. 12.25; now 6.13)
Lovely satin ribbon in two great colours.


Silver 5/8" Satin Ribbon (134548 - reg. 9.50; now 4.75)Gold 5/8" Satin Ribbon (134547 - reg. 9.50; now 4.75)
Such pretty satin ribbon - a perfect pairing for the coming season.
 

Gold Glimmer Paper (133719 - reg. 5.95; now 2.98)
Silver Glimmer Paper (135314 - reg. 5.95; now 2.98)
A must have - silver and gold sparkly heaven.


Gold 1/8" Ribbon (134582 - reg. 6.95; now 3.48)
Love, love, love this silky, shiny and smooth ribbon and gold seems to be the new silver lately!
40% OFF
Big Shot Magnetic Platform (130658 - reg. 49.95; now 29.97)
I don't need to tell you how much easier life became when this baby came available - to have your framelits perfectly aligned around your stamps = love!
2013-2015 In-Colour Stampin' Write Markers (133654 - reg. 19.95; now 11.97)
2014-2016 In-Colour Stampin' Write Markers (133654 - reg. 19.95; now 11.97)
Great colours - and both completely different, which makes them a great addition to your colouring collection.


30% OFF
Perfect Banner Clear-mount bundle (140356 - reg. 59.90; now 41.93). This is one of my favourite sets, and framelits - banners are all the rage right now!

20% OFF
Stars framelits dies (133723 - reg. 32.95; now 26.36).
Stars are hot and trendy - one of my must haves!!

Those are my top picks... there are lots of other great items on special for one week only too. You can Click here to view specials
 
Don't forget that another set of door busters will be announced on December 2nd!!
 
Stampin' Up! Supplies Used:
Stamps: Visions of Santa
Papers: Motley Monsters Designer Series Paper, Silver Glimmer Paper, Whisper White, Pool Party, Bermuda Bay and Lost Lagoon Cardstock
Inks: Tuxedo Black Memento Ink, Bermuda Bay and Lost Lagoon Classic Inks
Accessories: Hexagon Punch, Confetti Stars Punch, Tombo Multipurpose Liquid Glue, Stampin' Dimensionals, Stampin' Trimmer

 
Thanks for stopping by, happy stamping!
Beckie

Wednesday, November 19, 2014

Geometrical Bright & Beautiful Origami Star Folded cards!


What a crazy busy last few weeks... I don't think I've stopped. We had our annual Bazaar at my work on the weekend, with a bake sale and penny sale..... so busy! But we raised a lot of money for our Recreation Department to buy some new goodies for my favourite senior peeps.
 
Yesterday was my two-year Stampin' Up! Anniversary and my club meeting. It just happened to be one of my club members birthdays... so we had some yummy cake on top of all the fun stamping! Another club member made a yummy Kit Kat cake with lots of Smarties on top to help celebrate - so delicious, thanks Colleen!! One of the projects we created is like my share today. I've seen this type of card around for a while and thought it was about time that I gave it a try. It looks way more complicated that it is... I was pleasantly surprised by that fact too.
 
The first card is a birthday card - the closed view. Everything folds nicely into a star shape! I used the Geometrical stamp set - one of my favs!
 
 
This next picture shows how it unfolds. To fold back together you just fold the lower right, then the lower left - then tuck the top in behind the lower right pocket.
 
 
Here is the card opened up. You could put a photo inside or a gift card! The inside greetings are from Remembering your birthday!
 
 
Here's another version - but a holiday card, would be a great ornament. You could also put a photo inside or on the back. Lots of possibilities!
 
 
I used the Motley Monsters Designer series paper and Bright and Beautiful stamps. Such a beautiful stamp set - and I just love the sentiment!!
I hope you like my shares, I'm going to try to get a tutorial out soon.
 

Stampin' Up! Supplies Used:
Stamps: Geometrical, Remembering Your Birthday, Bright and Beautiful
Papers: Motleys Monsters, Confetti Celebration, 12X12 Island Indigo and Calypso Coral, Whisper White and Hello Honey 8-1/2X11", Gold Glimmer Paper
Inks: Bermuda Bay, Island Indigo Classic Inks, Tuxedo Black Memento Ink
Accessories: Star Framelits Dies, 1/16" Handheld Punch, Rhinestone Basic Jewels, Baker's Twine, Stampin' Trimmer, Stampin' Dimensionals, Bone Folder, Triangle Punch, 2-1/2" Circle Punch, Paper Piercing Tool.

Thanks for stopping by, happy stamping!
Beckie

Wednesday, November 12, 2014

Holiday Home: So Grateful for You


Here's a cute and very simple mini card I created back in October. I stamped one of the houses from the Holiday Home set and using the matching framelits diecut it out. The card base is 6"X3", score at 3". Such a cute little card!! I stamped the sentiment, and tree in Tuxedo Black Memento ink. Then the cute pumpkin image using Pumpkin Pie to give a pop of colour. I could have coloured the house, but I like the black and white - simple, but effective all on it's own. The house is popped up on a dimensional for some depth. This could be done very easily for each season with the Holiday Home stamp set.


Stampin' Up! Supplies Used:
Stamps: Holiday Home
Papers: Basic Black & Whisper White Cardstock
Inks: Tuxedo Black Memento Ink, Pumpkin Pie Classic Ink
Accessories: Homemade Holiday Framelits, Stampin' Trimmer, Stampin' Dimensionals

Thanks for stopping by, happy stamping!
Beckie

Sunday, November 9, 2014

Star ornament

Hello... sorry for not posting for a few days - my internet wasn't cooperating with me. For today I made an ornament using the Stars Framelits Dies. Stars seem to be very popular right now... from stamps to embossing folders to framelits... lots of fun stuff!  This was my first attempt at making a star box/ornament - there is a fun kit with pre-cut pieces in the Holiday Supplement. I managed to make one on my own - not too bad for my first try. Check it out below...
 
 
I love the Blackberry Bliss with the ultra-sparkly Gold Glimmer Paper!!
 
 
This was my first attempt at making an ornament - and it wasn't as hard as I thought it would be... so you'll probably see some more in the future.
 
 
First I cut the second largest star from the framelits dies. I diecut a window with the third largest. I cut another with the Gold Glimmer paper and cut one more but with Blackberry Bliss again to add in behind. I just kept using the next smallest die. I measured around the sides of the star that I wanted for my ornament base - then scored where each point was. I scored lengthwise at 3/8" on each side of my 1" strip for my tabs to adhere together. If that makes sense? The sentiment is from the Bright and Beautiful set - stamped onto Whisper White, layered onto Blackberry Bliss, Gold Glimmer Paper and Whisper White again. I added a piece of 1/8" Gold Ribbon attached with Glue Dots to the top point. I hope you like my share and have a wonderful day!
 

Stampin' Up! Supplies Used:
Stamps: Bright and Beautiful
Papers: Blackberry Bliss, Whisper White cardstock, Gold Glimmer Paper
Inks: Blackberry Bliss
Accessories: Stars Framelits Dies, 1/8" Gold Ribbon, Stampin' Trimmer, Stampin' Dimensionals, Glue Dots, Bone Folder
Other non-Stampin' Up!: Score-tape

Thanks for stopping by, Happy stamping!
Beckie

Wednesday, November 5, 2014

Nine Inch Nails Concert Layout

 
Okay, so this post isn't fall or holiday related. I have so many concert photos - since concerts are one of my vice's I just can't live without. I was lucky enough to see Nine Inch Nails twice in the last year - and they surpassed any expectations I had - both show's were amazing! I took some cool pics from the show back in July when the played the Air Canada Center in Toronto. The colours from the lights at the concert coordinated perfectly with Stampin' Up!s colours. Coincidence?! Probably, but I thought I'd run with it. I used Crisp Cantaloupe, Basic Black, Coastal Cabana and Tangerine Tango to mat my photos - and cut a bunch of stars with the Stars Framelits Dies. All layered onto some Back to Black designer series paper. The letters are of course, the Little Letters Dies... nothing over the top - but I like how it turned out. Can't wait for their return to Canada - I will definitely buy tickets again :)
Have a super day!


Stampin' Up! Supplies Used:
Stamps: None
Papers: Back to Black DSP, Tangerine Tango, Coastal Cabana, Whisper White, Basic Black, Crisp Cantaloupe cardstock, Gold Glimmer Paper
Inks: None
Accessories: Stampin' Trimmer, Stampin' Dimensionals, Little Letters Dies, Stars Framelits Dies.
 
Thanks for stopping by, happy stamping!
Beckie

Tuesday, November 4, 2014

Wooden Elements embellishments are not just for cards!

 
Hello... it's a nice fall day today, I'm excited to see some friends for lunch today - and to have some sushi and seaweed! I have a short and sweet post today. I have been making jewelry for quite a number of years and I love making fun earrings. When I first saw the Autumn Wooden Elements in the Holiday catalogue - I immediately thought of making earrings. So that's what I did - I used the pieces that are an outline shape so I could add a jumpring and some chain and a ear wire. Very simple to make and great for the fall season. I hope you like them, have a great day!


Stampin' Up! Supplies Used:
Stamps: None
Papers: None
Inks: None
Accessories: Autumn Wooden Elements
Other: Ear wires, silver chain, jumprings, pliers

Thanks for stopping by, happy stamping!
Beckie

Sunday, November 2, 2014

Tee-hee-hee... it's all about the shoes!

 
Yesterday, I presented at my upline Jenn's event - Stamp-a-rama! It was so much fun!!! I love sharing ideas with others - and there were over 100 people in attendance, so I shared with a lot of people. They designed some beautiful projects and the store... ahhh, I love the store. Stamping supplies (retired), but I still had to buy some new-to-me items to craft with. Now just to have time to sit and play with my new additions :)
 
I know that Halloween is technically over, but I didn't have a chance to share this cute little witch I made. What girl doesn't love shoes!? Well, most girls do... me included. I love using the 1X8" Cello Bags to make these fun candy legs for different holidays or other treats. I decided to make some witch legs since I had some black and orange sixxlets chocolates on hand and they fit nicely into the cello bags. 
 
 
I filled the bags with the candies, then diecut 2 of the 'Top Note' dies. I scored one in half and the other I cut in half and in half again. You can get two sets of shoes from one diecut. To decorate her bewitching shoes, I used the super shimmery gold glimmer paper. I used the Petite Curly Label punch and cut it in half for the top part of her shoe - added a gold sequin and tied a piece of Basic Black Baker's Twine. I punched a 1/2" circle for the toe. Cute and simple to make.


To make her dress, I used the full Top note diecut (scored in half). I pleated a piece of Motleys Monsters Designer series paper and attached to the underside of the top note. I cut a strip of Tangelo Twist cardstock for the belt and another Petite Curly Label Punch with a 1/2" circle for the belt buckle. In order to hand these bewitching candy legs up - I strung a piece of Gold Sequin Trim. I used hot glue to attach the candy legs to the shoes and dress base, and the sequins trim. I finished by adding a tag from 'Tee-hee-hee'
. 

Stampin' Up! Supplies Used:
Stamps: Tee-Hee-Hee
Papers: Motleys Monsters DSP, Basic Black, Tangelo Twist Cardstock, Gold Glimmer paper
Inks: Tuxedo Black Memento Ink
Accessories: Top Note Bigz Die, Chalk Talk Framelits, Gold Sequin Trim, Stampin' Trimmer, Stampin' Dimensionals, 1/2" Circle Punch, Basic Black Baker's Twine, 1X8" Cello Bags, Petite Curly Label Punch, Glue Dots, Extra Large Oval Punch

Thanks for stopping by, happy stamping!
Beckie

Saturday, November 1, 2014

Ghoulish Greetings

 
Sorry this is a day late... so busy yesterday. Halloween is my favourite day of the year! I love Halloween - I love skulls - pumpkins - black cats - dressing up - black and orange - fall weather... I could go on, but I'll stop there!!! We had a get together last night to help celebrate our 5th Wedding Anniversary (yep, I got married on Halloween!). It was a great opportunity to wear black instead of white (it's not my colour, or absence of it!). I'm going to share the invite I made... I made a few others but I really liked this one and it wasn't overly complicated to duplicate numerous times. Check it out below... card directions below too. 
 
 
To make my card, I started with a card base of Very Vanilla cardstock. I cut a layer of Basic Black and Soft Suede. I then used the Decorative Mask (the circle one, obviously!) and started making squiggles, lines and finally making a circle inside the circle using a Project Life Journaling Pen (the finer tipped one). Before removing the mask, I sponged the circles with Soft Suede ink. I then used the Freaky Friends stamp set and stamped the 3 sets of eyes to each of the circles to make it look like they are mummies! Booooooo ooooohhhhhh, spooky right?!! Then I thought I'd like to add some spiders from the Holiday home set... I only stamped the spider and not the web. I cut a 1" strip of Basic Black which was also distressed. I cut another 3/4" strip of Soft Suede and stamped the Ghoulish Greetings stamp from the Ghoulish Greetings stamp set, go figure! I just had to used the cute little skeleton again... and before adding my strips to the front I added a piece of Venitian Crochet Trim to the bottom. Then I added all the layers to my base card.


I am sad that Halloween is, all the lovely spooky decor will be removed from the stores... maybe at a discount? I do keep some of my decor up all year, since I'm mildly obsessed with skulls!!! So that will help me get through the change. I made a fab black and orange wreath which I will also keep up, maybe I'll add a few jingle bells or a Santa's Hat so people don't think I'm a weirdo... I hope everyone had a great Halloween!! I'm presenting at my upline's event today, should be a fun day!
 
Stampin' Up! Supplies Used:
Stamps: Ghoulish Greetings, Freaky Friends, Holiday Home
Papers: Soft Suede, Very Vanilla, Basic Black cardstock
Inks: Soft Suede Classic Ink, Tuxedo Black Memento ink, Project Life Journaling Pen (fine tip)
Accessories: Venetian Crochet Trim, Decorative Mask - Dots and Stripes, Stampin' Trimmer, Paper Snips, Distress Tool, Sponge Dauber
 
Thanks for stopping by, Happy stamping!
Beckie

LinkWithin

Related Posts Plugin for WordPress, Blogger...