
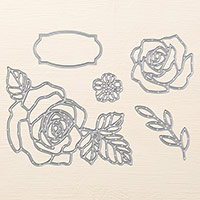
Hello stampers! I spent the day at an all day stamping event organized and run by my upline and another demonstrator in our group. I've been a presenter several times now, and was excited when they asked me to demonstrate "water colouring". I love water colouring, and had so much fun creating samples and display boards to help show the attendees the different options for this fabulous medium. I call it "Stenciled Water Colouring". I came about it by accident, I was sitting in my craft room, and a {Rose Garden Thinlit} die cut was sitting in my container of "bits & pieces". I wondered if it would work as a stencil... well, it sure did!

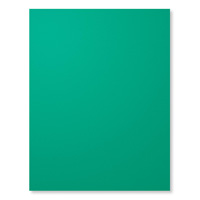
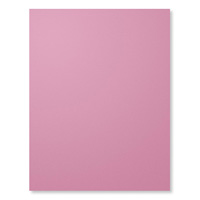
I used two of the new In-colours, my favourite - Emerald Envy and Sweet Sugar Plum. I LOVE the new colours and these two are extra delicious! So simple to do, but very effective - don't you think?

So this is how you would re-create this. Attach the die cut with washi tape or another adhesive that can be easily removed after colouring. Then add your watered down colours. If your die cut pops up in certain areas, just hold that part down with your bone folder, pen, etc. then you add your colour and the colour won't bleed.

Once you've added all your ink and the entire flower is covered, you simple remove the washi and peel off the die cut which reveals your "stenciled" image. Pretty eh?!

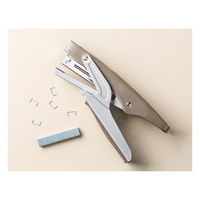
And here's the finished card again. No need for any over the top embellishments, just a sentiment stapled to the side. Let the stenciled image be the star! I hope you like it, I've got a bunch more water colouring samples to share. Have a good evening.

Check out my lovely inked up fingers, it's a good look on me! No one said creativity wasn't messy ;)

Thanks for stopping by, happy stamping!
Beckie
Stampin' Up! Supplies Used:


21A8B4D22D
ReplyDeletekiralık hacker
hacker arıyorum
kiralık hacker
hacker arıyorum
belek
ReplyDeleteHayatımız boyunca kendimizi geliştirmek ve yeni bilgiler edinmek adına farklı kaynaklara yöneliriz. Bu noktada, çeşitli önerilere açık olmak oldukça önemlidir; özellikle kitap önerileri sayesinde okuma alışkanlığımızı zenginleştirebiliriz. Herkesin ilgisini çekecek çeşitli kitaplar keşfedip, düşünce ufkumuzu genişletebiliriz. Bu nedenle, yeni kitaplar keşfetmek ve kendimizi geliştirmek adına bu kaynaklara göz atmak faydalı olacaktır.