Well this week has been interesting so far. I came home from work on Monday to no internet and no TV!!!! This is the technology age and to not have either of those things is almost unbearable. I myself could probably live without the TV, but no internet, I think I'd go insane! I'm happy to report that it was fixed as of last night = D
I have a card that I demonstrated at an annual stamping event that my upline Jenn runs every year called Stamparama... I always look forward to it every year! She asked my to demonstrate a fun card technique so I made some suggestions and this one was what was chosen. This fun technique has been referred to as a 'peek a boo' card, it could be a 'slider' card too! When you open the card a hidden panel slides over to reveal another sentiment or stamped image!! It's super cute... check it out!
Here is a view of the inside of this card - just gotta love the 'Life in the Forest', those little critters are so stinkin' cute :)
Instructions:
Note - this can be done with different punches and framelits, the 'Life in the Forest' sample I used Framelits - just make sure they are small enough to fit on the inside panel! I have had the most success with the circles, squares, and the hexagon punch!
Step 1:You will need 2 pieces of matching coloured cardstock. The first one measuring 11" X 5 1/2", and the second measuring 6 1/8" X 5 1/2".
Step 2: Score the larger piece with the 11" side at the top of your scoring tool, score at 3 1/2" and 7". Score your smaller piece with the 6 1/8" side at the top of your scoring tool, score at 4 1/4".
11" X 5 1/2", scored at 3 1/2" & 7" 6 1/8" X 5 1/2", Scored at 4 1/4"
Step 3: Next fold your score lines (mountain-valley) for the larger piece and (mountain) for the smaller one. The longer piece will have a bigger panel on the right side.
The piece on the left will be the front of the card.
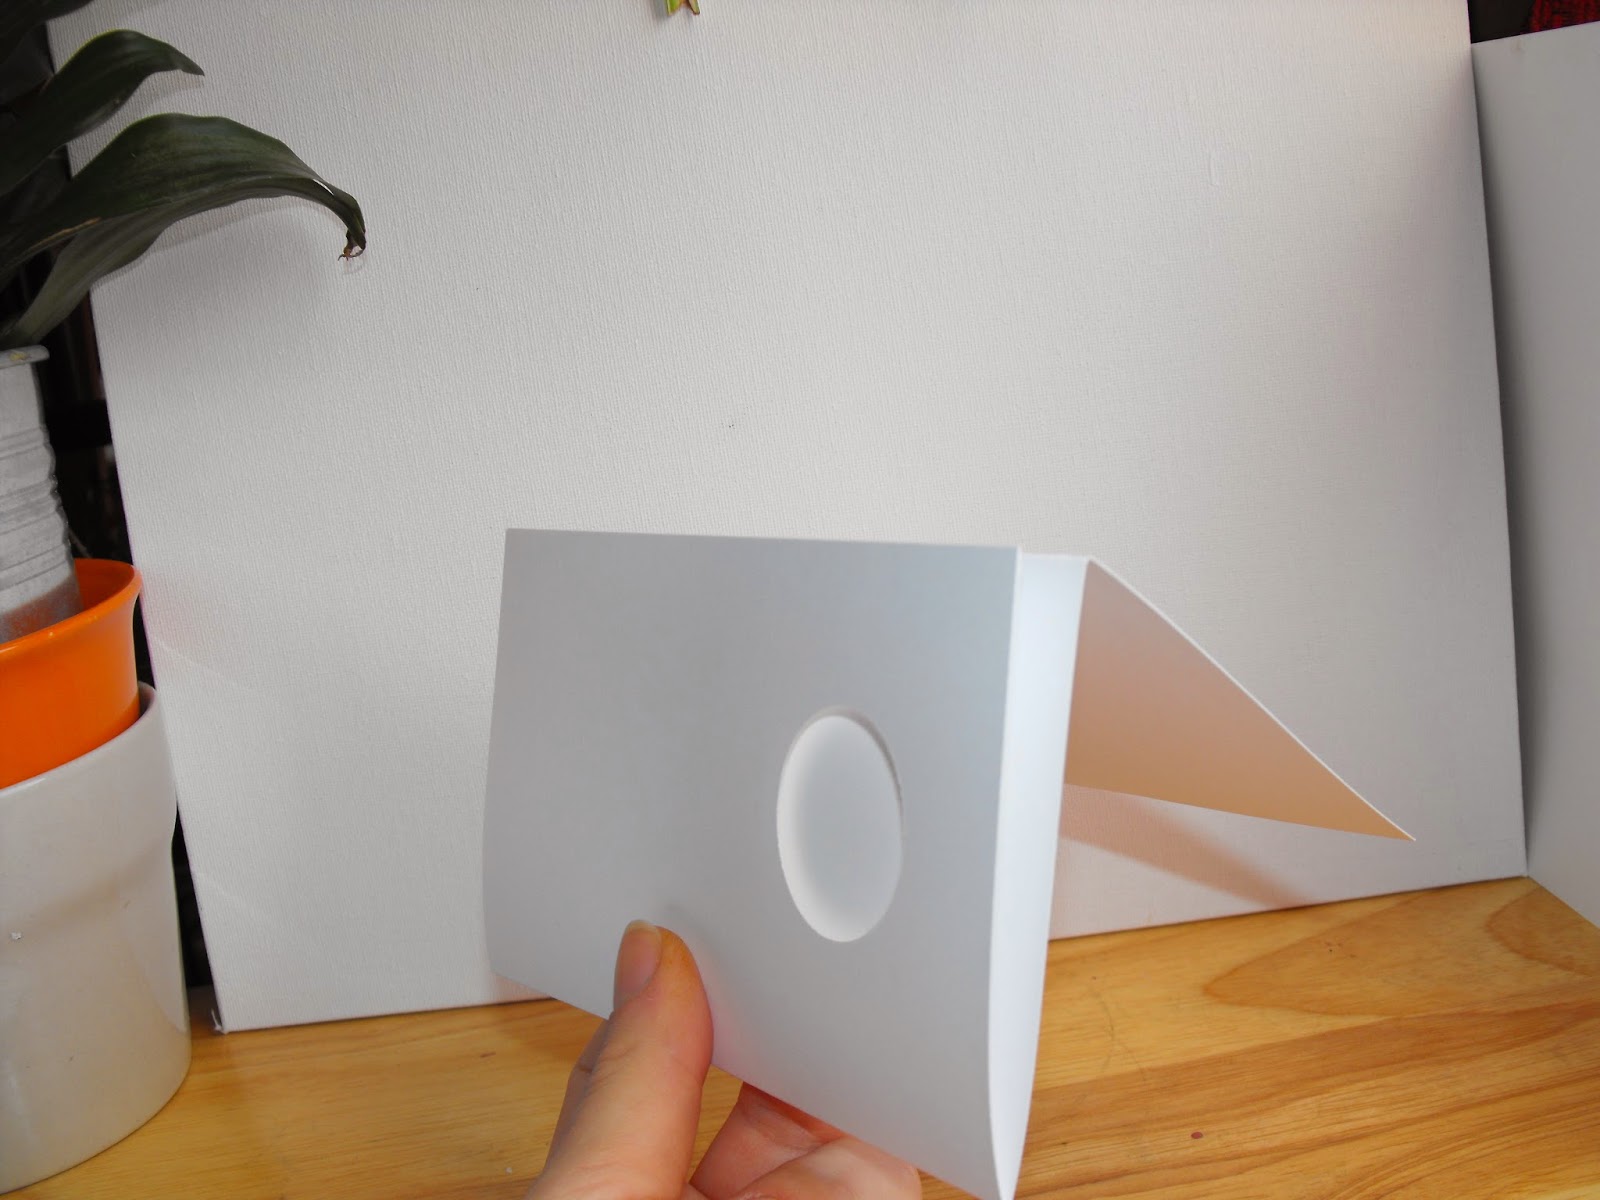
Step 4: Take the 6 1/8" X 5 1/2" panel with the folded flap on the right hand side, line up your punch with the edge of the paper and punch. This will make your first window for your front of the card.
When finished you will have your first window.
Step 5: Next line up the piece you just punched and line it up with the smaller side of the 11" X 5 1/2" piece. Line up your punch with the first punched image and punch. Now you have 2 of 3 windows finished.
Once edges of card are lined up, punch.
Step 5 finished.
Step 6: Next you need to make your last punch for the third window. On the longer piece with the 3 panels, pinch to make a "V". Line up your windows and punch the third hole. You now have all your holes punched - and can start assembling your card.
Line up punch with first hole punched and punch over previous window to make 2 windows
When completed, step six should look like this, the other window will be from your front panel.
Step 7: If you wanted to add some DSP or cardstock for embossing to the fron panel - do so now. Cut a piece of DSP to 5 1/4" X 4" adhere to your front panel and turn over to the other side and line up your punch with the previous one and punch to make the window again.
Step 8: To assemble your card - first line up your 6 1/8" X 5 1/2" piece with the short panel of the longer piece and adhere together.
Front panel is now attached to base.
Step 9: Now that you have your basic template assembled, you can decorate.
Add a piece of sticky strip to the edge of the panel with no hole punched in it. Don't remove the backing just yet.
Step 10: Stamp your sentiments or images and punch out with the same punch you used for the windows in your card base. Optional: Punch 2-3 of the same punch and with a larger punch make a frame for your holes - put over your windows.
To insert your greetings or images - first the one you want to see from the outside of the card, close the card and attach through the windows like in the photos above.
Tip: Add a piece of tape to the left side of the punched image you just attached to prevent snagging when opening card.
For the inside greeting or image, ope the card and adhere through the inside window like above.
Remove sticky strip backing and close card like above (right). This will keep the sliding mechanism in place. To finish add your frames (opt.) and other embellishments as desired.
Completed card!!
Stampin' Up! Supplies Used:
Life in the Forest stamp set [wood: 133848 - $25.95; clear: 133851 - $19.95]
Word Bubble Framelits [132968 - $30.95]
Just Sayin' Stamp set [wood: 133200 - $32.95; clear: 133203 - 22.95]
Linen Thread [104199 - $5.95]
Oval Collection Framelits [129381 - $32.95]
Sponge Daubers [102892 - $14.50]
I hope you like my share, Happy Stamping :)


No comments:
Post a Comment